
Easy Home Gardening for Beginners: From Seeds to Success
Last updated on January 11th, 2026 at 07:59 am
Ever killed a cactus? I’ve murdered three. And if you’re nodding along, welcome to the “how-is-this-so-hard?” club of plant parenthood.
I spent years watching my green babies turn brown before figuring out home gardening isn’t rocket science—it’s actually way more forgiving than Instagram perfectionists make it seem.
By the end of this guide, you’ll know exactly how to start your own little green sanctuary without the plant-killing guilt trips. I’ve packed everything I’ve learned from my garden disasters into bite-sized advice that actually works.
The secret most green thumbs won’t tell you? The difference between plant killers and plant growers isn’t talent—it’s something much simpler.
Discover the health benefits of home gardening – it’s nature’s workout with a peaceful twist.
Understanding Your Growing Space
Assessing Your Outdoor Areas for Optimal Plant Growth
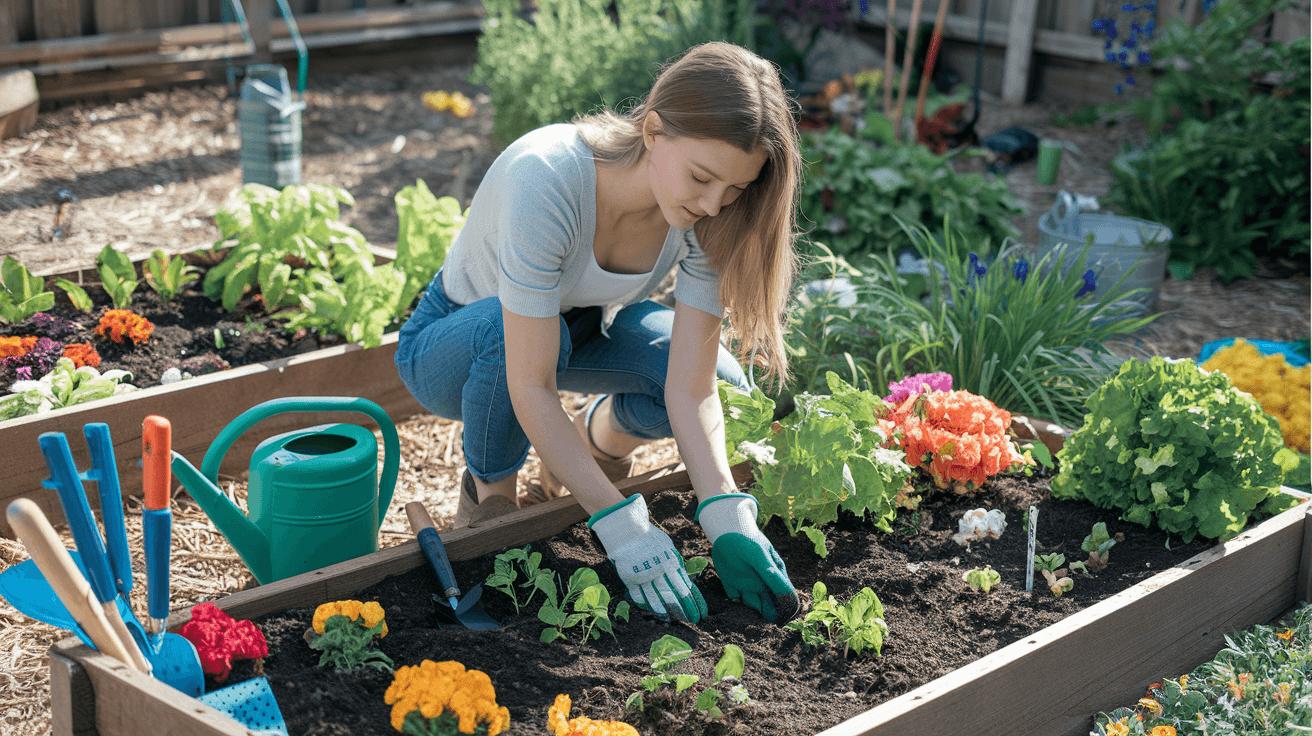
I spent my first year of gardening completely ignoring the specific needs of my yard. Big mistake! Now I know better – taking time to truly understand your growing space is the foundation of gardening success.
When I assess my outdoor areas, I look for a few key things. First, I check the overall layout. Where are my open spaces? Do I have a dedicated yard area, or am I working with a balcony or patio? Even a tiny apartment balcony can become a thriving garden with the right planning.
I also pay attention to existing features that might affect my plants. Trees can provide too much shade, buildings might block sunlight or create wind tunnels, and slopes can cause drainage issues. I learned this the hard way when my first vegetable patch turned into a soggy mess after every rain because I didn’t notice the slight depression in that part of the yard.
Identifying Sun Exposure Patterns Throughout the Day
Sun exposure was something I completely underestimated when I started gardening. I just assumed my backyard got “enough sun” without actually checking. Rookie error!
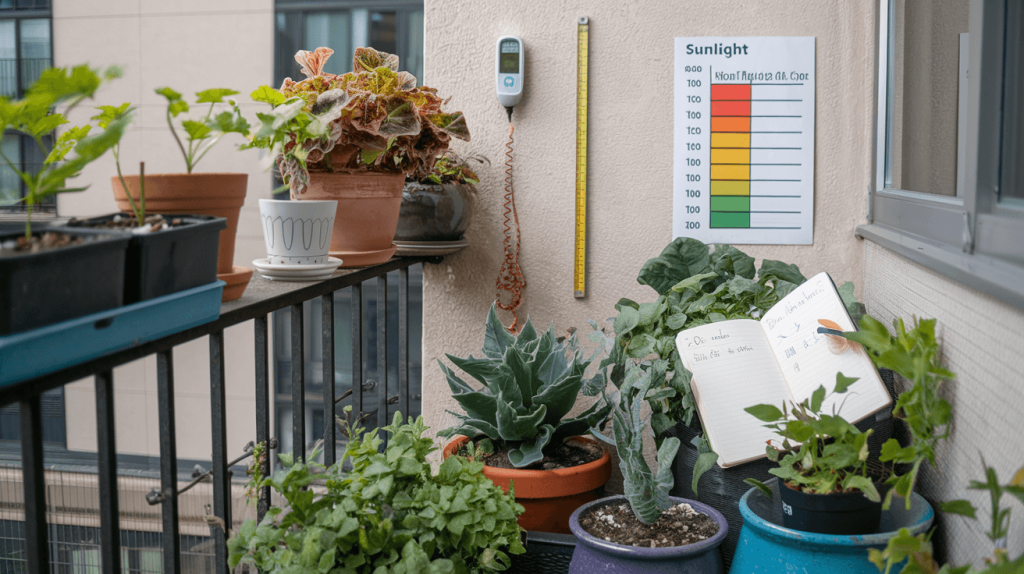
I now make a point to observe my garden space throughout the day. I’ll actually set reminders on my phone to check the sunlight at different hours – typically around 9am, noon, and 3pm. This gives me a pretty good picture of which areas get full sun (6+ hours), partial sun (4-6 hours), partial shade (2-4 hours), or full shade (less than 2 hours).
I’ve found using a simple notebook to track sun patterns over a few days works wonders. I draw a rough sketch of my yard and shade in areas as the day progresses. This sunlight map becomes my guide for plant placement.
Determining Your Soil Type and Quality
My first garden failed partly because I ignored what was literally right under my feet – the soil! Now I know soil isn’t just dirt; it’s the lifeblood of my garden.
I use a simple test to determine my soil type. I grab a handful of moist soil and squeeze it:
- If it holds its shape but crumbles when poked, I’ve got loamy soil (jackpot!)
- If it forms a tight ball that doesn’t easily break apart, that’s clay soil
- If it falls apart even when squeezed firmly, I’m dealing with sandy soil
I also check my soil’s pH using an inexpensive test kit from my local garden center. Most plants prefer slightly acidic to neutral soil (6.0-7.0), but some, like blueberries, want more acidity.
Recognizing Your Climate Zone and Growing Season
Climate zones completely dictated my gardening calendar, but I didn’t realize this until my second year. I wasted so much time and money planting things at the wrong time!
I found my USDA hardiness zone on their website, which tells me the average annual minimum temperature in my area. This helps me choose plants that can survive my winters. But I also pay attention to my local “last frost” and “first frost” dates, which determine my growing season length.
My neighbors have become an incredible resource too. Their years of local gardening experience taught me which plants thrive in our specific microclimate. I’ve discovered our neighborhood actually stays about 5 degrees warmer than the broader area because we’re sheltered by a hill – knowledge you won’t find on any zone map!
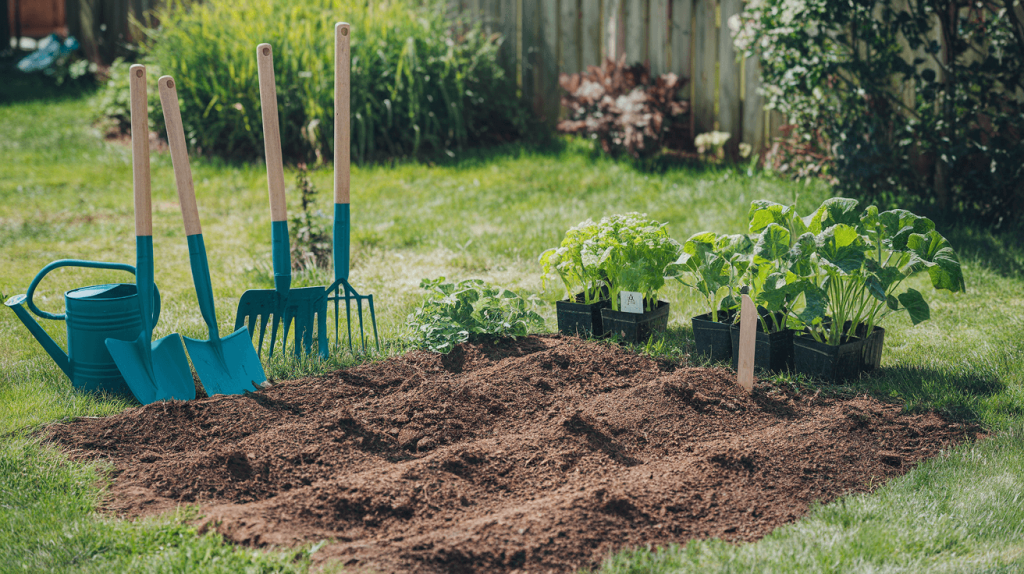
Essential Gardening Tools for Beginners
A. Must-Have Hand Tools That Won’t Break Your Budget
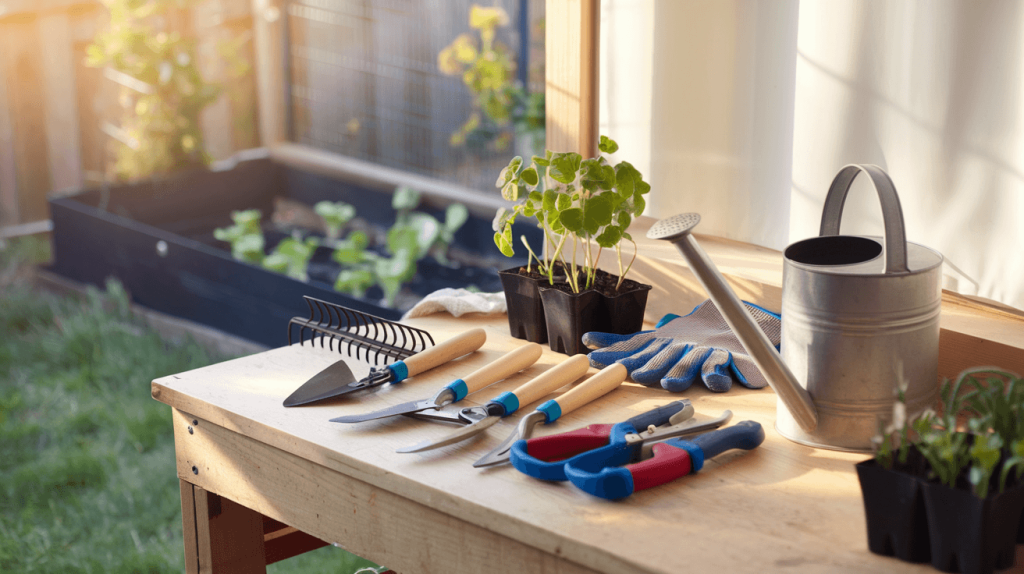
When I first started gardening, I was completely overwhelmed by the massive wall of tools at my local garden center. Trust me, you don’t need all that fancy stuff to get started! I’ve found that just a few quality basics can handle most jobs in my garden.
My absolute essential is a good hand trowel. I use mine literally every day in the garden for digging small holes, transplanting seedlings, and mixing soil. I bought a stainless steel one with a comfortable grip for about $12, and it’s been worth every penny.
Pruning shears are another game-changer. I use them for harvesting vegetables, trimming dead growth, and shaping plants. Look for bypass pruners (they work like scissors) with a spring-loaded handle – your hands will thank you after a long day of cutting.
A garden fork has saved my back countless times when I’m turning compost or loosening compacted soil. The tines penetrate tough ground way better than a shovel, and I’ve found they’re gentler on plant roots too.
Don’t forget a simple garden knife (hori-hori). I was skeptical about needing one until I tried it – now I use it for everything from dividing perennials to weeding in tight spaces. Mine has measurement markings for planting depth and a serrated edge that cuts through roots like butter.
B. Watering Equipment for Efficient Plant Care
I’ve killed more plants from improper watering than anything else, so getting this right is crucial! My first recommendation is to invest in a quality watering can with a removable rose (that’s the sprinkler attachment at the end). I use the rose for seedlings and remove it when watering established plants.
A hose with an adjustable nozzle has been a lifesaver for my bigger garden areas. I looked for one with multiple spray patterns – the gentle shower setting is perfect for new plantings, while the jet stream helps me reach hanging baskets.
I was originally resistant to spending money on a soaker hose, but it’s become one of my best gardening investments. I snake it through my vegetable beds, turn it on low for about 30 minutes, and the water seeps directly to the roots with minimal waste. Plus, I avoid the fungal issues that come with overhead watering.
For container gardens on my patio, self-watering bulbs have been amazing during hot summer weekends when I’m away. They’re inexpensive and keep plants consistently moist without drowning them.
C. Storage Solutions to Keep Your Garden Organized
Nothing kills my gardening motivation faster than spending 20 minutes searching for my trowel! I’ve tried several storage solutions over the years, and here’s what actually works.
A simple 5-gallon bucket with a tool organizer that fits around the outside has been my go-to mobile solution. I keep frequently used tools in the outer pockets and smaller items like gloves and seed packets inside the bucket. When I’m done for the day, I just hose everything off and put the bucket in my shed.
For my shed storage, I installed a pegboard wall with hooks for hanging tools. This keeps everything visible and prevents that frustrating pile-up that inevitably happens on shelves. I traced outlines of each tool on the pegboard with a marker, so I immediately know if something’s missing.
For smaller items like plant markers, twist ties, and spare parts, I use clear plastic containers with secure lids. Being able to see what’s inside without opening every container has saved me tons of time.
D. When to Invest in Premium Tools vs. Budget-Friendly Options
I’ve made plenty of tool-buying mistakes over the years, so let me save you some cash. For tools you’ll use frequently (like hand trowels, pruners, and hoses), spending a bit more upfront has always saved me money in the long run. My premium pruners still work perfectly after four years, while I went through three cheap pairs in the first year alone.
For occasional-use tools, budget options are often perfectly fine. I rarely use my bulb planter, so the $8 plastic version works just as well for my needs as the $30 stainless steel one would.
Here’s my quick decision guide:
- Invest in premium: Pruners, trowel, garden fork, hose
- Budget options fine: Watering can, garden gloves, plant markers, kneeling pad
The handle quality is where I’ve noticed the biggest difference between cheap and premium tools. Cheap wooden handles often splinter or break after a season, while fiberglass or metal handles with comfortable grips have lasted me for years.
E. Tool Maintenance Tips to Extend Their Lifespan
I’ve learned the hard way that neglected tools don’t last long! Now I follow a simple maintenance routine that keeps everything working perfectly.
After each use, I knock off excess soil and spray down my tools with the hose. For metal parts that might rust, I keep a bucket of sand mixed with a bit of mineral oil near my shed door. I just plunge my trowel or pruners into this mixture a few times – the sand scrubs off residue while the oil prevents rust.
For my pruners and shears, I wipe the blades with alcohol after cutting diseased plants to prevent spreading problems. I also sharpen them about twice a season using a simple diamond file I got for under $10.
Wooden handles need occasional attention too. When they start looking dry or splintery, I lightly sand them and apply a coat of linseed oil. This takes just a few minutes but makes tools much more comfortable to use.
I store all my tools in a dry place, hanging when possible rather than piling them up. This prevents moisture damage and keeps edges from dulling through contact with other tools.
Selecting the Right Plants for First-Time Success
Foolproof Vegetables for Beginner Gardeners
When I first started gardening, I was terrified of killing everything I touched. That’s why I focused on easy vegetables that are practically indestructible. If you’re just starting out, these forgiving plants will boost your confidence:
I’ve had amazing success with zucchini – one plant gives me more than I can eat! Radishes are another winner; they’re ready in just 3-4 weeks, which is perfect for my impatient nature. Leaf lettuce has been a game-changer for my salads – I just snip the outer leaves and they keep growing.
Here are my top picks that rarely let me down:
- Snap peas: They climb happily up supports and produce sweet pods I can eat right off the vine
- Cherry tomatoes: Way more prolific and forgiving than their larger cousins
- Bush beans: No staking needed and they produce like crazy
- Kale: Survives cool weather and keeps producing even after light frosts
- Green onions: I can harvest them multiple times by cutting and letting them regrow
I’ve learned the hard way to avoid starting with watermelons, cauliflower, or celery – they need perfect conditions and lots of attention.
Low-Maintenance Herbs That Thrive with Minimal Care
Herbs were my gateway plants! I started with just a few pots on my kitchen windowsill, and their success gave me the courage to expand my garden.
My mint plant refuses to die no matter what I do (actually, I have to keep it contained or it takes over everything). Rosemary has become a small shrub in my garden with almost zero effort on my part. And I’m constantly amazed by how my chives bounce back after every harvest.
These herbs have survived my worst gardening mistakes:
- Thyme: Thrives in poor soil and drought conditions
- Oregano: Gets more flavorful when slightly neglected
- Sage: Grows into a beautiful perennial with minimal fuss
- Basil: Needs more water than others but rewards me with abundant leaves all summer
- Lemon balm: Makes delicious tea and withstands my occasional forgetfulness
I water these herbs only when the soil feels dry about an inch down, and they reward me with fresh flavors for my cooking year-round.
Resilient Flowers to Add Color to Your Garden
I need beauty in my garden alongside practicality. These flowers have given me gorgeous blooms without demanding perfection:
Marigolds have been my garden workhorses – they bloom non-stop from spring until frost and even help keep pests away from my vegetables. I scattered zinnia seeds directly in my garden beds, and they grew into a rainbow of colors that attract butterflies all summer. My sunflowers reach impressive heights with basically no effort from me.
Other flowers I count on for no-fail color:
- Nasturtiums: Edible flowers that thrive in poor soil
- Cosmos: Delicate-looking but surprisingly tough
- Black-eyed Susans: Return year after year with bright blooms
- Pansies: Add color to my spring and fall garden when other plants are dormant
- Lavender: Drought-tolerant and fragrant, plus pollinators love it
I’ve found these flowers attract beneficial insects to my garden, creating a mini-ecosystem that helps everything thrive.
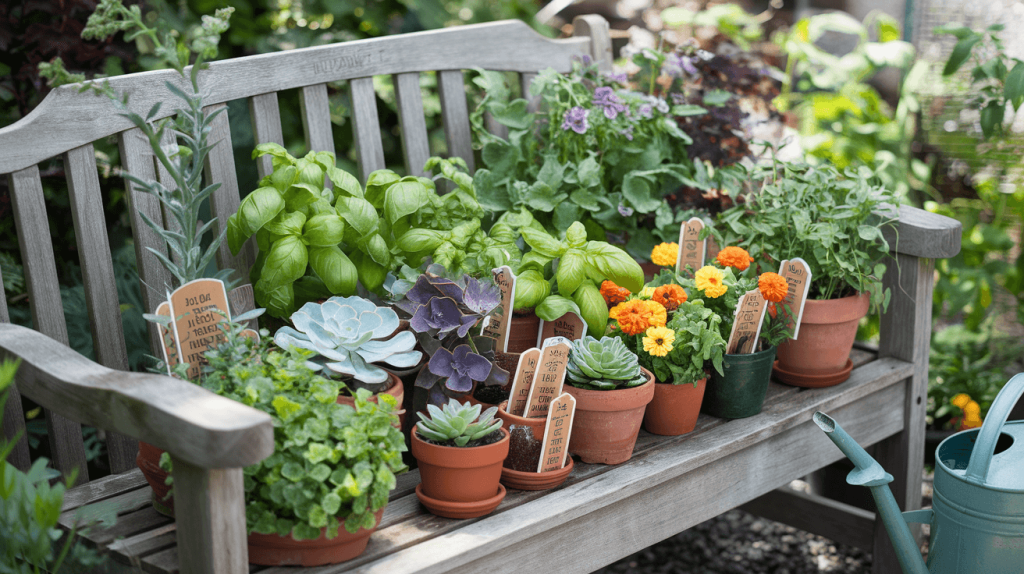
Understanding Plant Labels and Growth Requirements
Those tiny plant tags used to confuse me completely. Now I know they’re like a cheat sheet for success.
I pay special attention to the sun requirements. My first garden failed because I planted full-sun tomatoes in a shady spot. Now I map my yard’s sun patterns before planting anything.
The hardiness zone number tells me if a plant can survive my winters. I’m in Zone 6, so plants labeled for Zones 1-6 work great for me, but Zone 8 plants would die in my winter.
Here’s my quick guide to decoding plant labels:
| Symbol | What It Means | My Takeaway |
|---|---|---|
| 🌞🌞🌞 | Full sun | Needs 6+ hours of direct sunlight |
| 🌞🌞 | Partial sun | 4-6 hours of sun, afternoon shade helps |
| 🌞 | Shade | Less than 4 hours of direct sun |
| 💧💧💧 | High water | Needs consistent moisture |
| 💧 | Low water | Drought-tolerant once established |
| 🌱→🌿 | Spacing | How much room to give each plant |
When I see “days to maturity,” I add that number to my planting date to know when I’ll harvest. For “depth,” I’ve found that planting seeds too deep is a common mistake I made early on – most need just a light covering of soil.
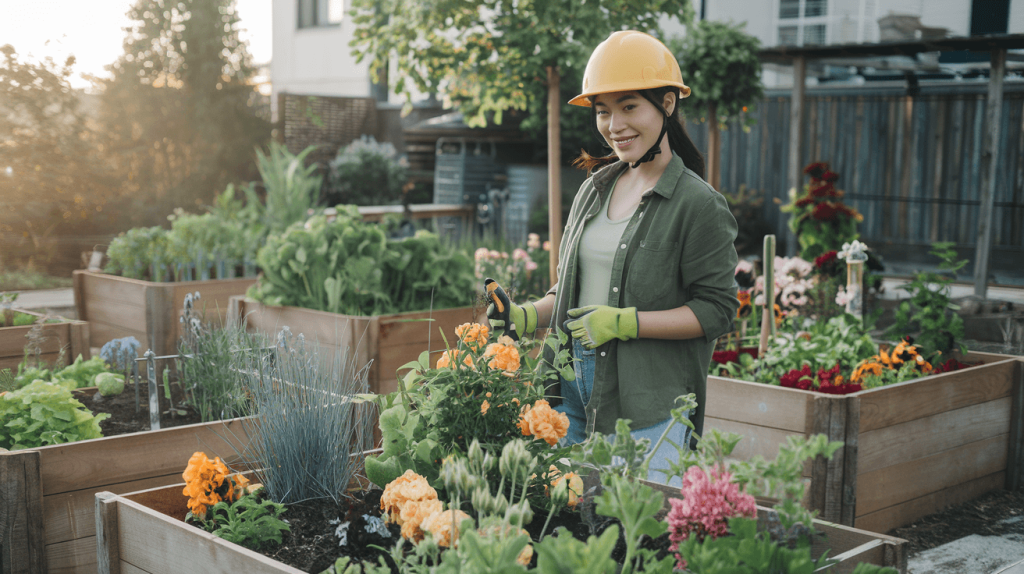
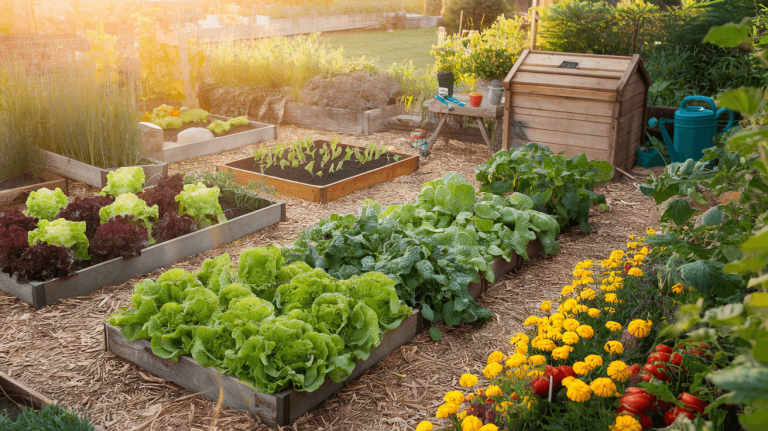
Setting Up Your First Garden
A. Raised Beds vs. In-Ground Planting: Pros and Cons
I started my gardening journey facing the big question: raised beds or traditional in-ground planting? After years of getting my hands dirty (literally), I’ve discovered each has its place.
Raised beds won me over initially because they’re easier on my back – no excessive bending! Plus, I control the soil quality from day one. When I filled my first raised bed with premium soil mix, my plants thrived in ways they never did in my clay-heavy yard soil.
But here’s the honest truth about raised beds:
| Raised Bed Pros | Raised Bed Cons |
|---|---|
| Better drainage | Higher upfront cost |
| Warmer soil earlier in spring | Dry out faster in summer |
| Fewer weeds | Limited root depth for some plants |
| Clear boundaries | Require more watering |
In-ground planting has its charm too. I love that I didn’t need to spend money on building materials, and my deep-rooted plants like tomatoes can stretch out as much as they need. My in-ground garden also needs less watering during hot spells.
The biggest downside? The backaches from weeding and the battles with my yard’s poor soil quality. I’ve spent countless weekends amending that soil!
B. Container Gardening for Limited Spaces
I live in a townhouse with a tiny patio, but that hasn’t stopped me from growing a surprising amount of food. Container gardening has been my lifesaver!
My collection started with a few 5-gallon buckets (with drainage holes drilled at the bottom) and has expanded to include fabric pots, window boxes, and even hanging baskets. The beauty of containers? I can move them to follow the sun throughout the season.
For my container garden success, I’ve found these plants work amazingly well:
- Herbs (basil, mint, rosemary)
- Cherry tomatoes (look for “patio” or “container” varieties)
- Lettuce and other leafy greens
- Bush beans
- Peppers
My top container gardening tip: don’t skimp on pot size. I made that mistake my first year and watched my plants struggle. Most vegetables need at least a 12-inch deep container with similar width.
C. Designing an Efficient Garden Layout
I’ve redesigned my garden layout three times, and I’ve finally got it right! The key was thinking about my daily gardening routine.
I placed herbs and salad greens closest to my kitchen door. Why? Because I harvest them almost daily, and nobody wants to trek across the yard in the rain just to grab some basil for dinner.
For my sun-loving plants like tomatoes and peppers, I positioned them on the south side where they won’t shade other crops. My tall plants (corn, sunflowers) went to the north side of my garden so they wouldn’t block sunlight from shorter plants.
I also incorporated paths wide enough for my wheelbarrow – about 3 feet wide. Trust me, this makes a huge difference when you’re hauling compost or mulch.
D. Creating Proper Drainage Systems to Prevent Root Rot
Nothing kills garden enthusiasm faster than watching plants die from waterlogged roots. I learned this the hard way during my first rainy season when half my garden turned into a swamp.
For my in-ground garden, I dug trenches along the perimeter and filled them with gravel. This simple solution directs excess water away from my precious plants.
In my raised beds, I created a layer of coarse material at the bottom – broken clay pots, small rocks, even chunks of broken styrofoam work great. This creates air pockets for water to collect rather than saturating the soil above.
For containers, drainage holes are non-negotiable. I add a layer of gravel at the bottom of each pot and elevate them slightly using pot feet or even small rocks. This prevents water from pooling at the bottom and ensures air can circulate under the pots.
Soil Preparation and Enhancement
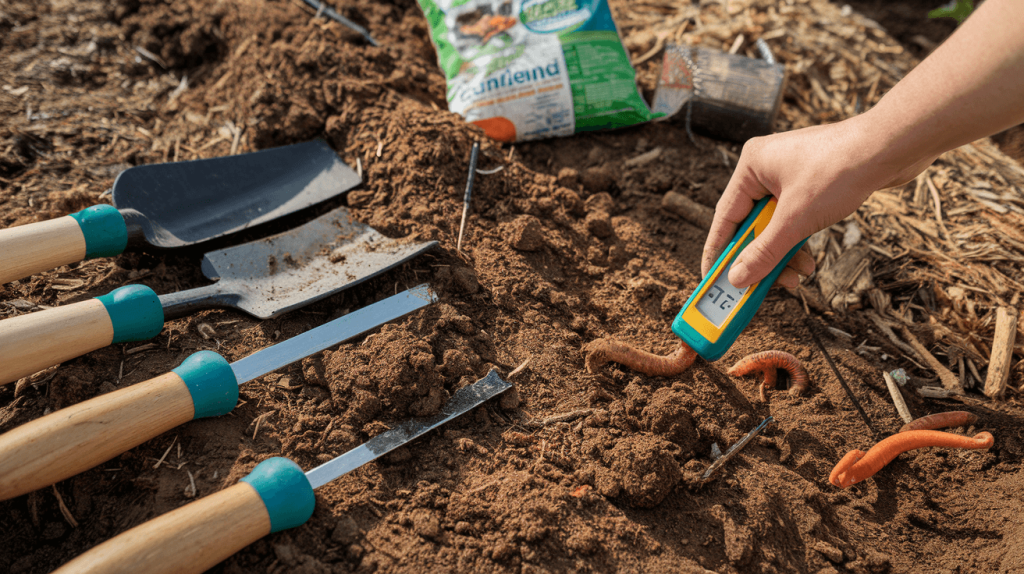
Testing Your Soil for Optimal Plant Growth
I’ve learned the hard way that good soil is everything in gardening. Before I plant anything, I always test my soil first. It’s like checking the foundation before building a house.
You can grab simple soil test kits from any garden center for under $20. I use them to check the pH level (acidity or alkalinity) and the main nutrients: nitrogen, phosphorus, and potassium. Last summer, I discovered my soil was way too acidic for the tomatoes I wanted to grow. A quick adjustment with some lime made all the difference.
If you’re serious about gardening like me, consider sending a sample to your local extension office. They provide detailed analysis for about $15-30. I did this when my peppers kept failing despite my best efforts, and found out I had a severe magnesium deficiency.
For a quick DIY test, I grab a handful of moist soil and squeeze it. If it forms a ball that breaks into crumbles when poked, that’s good loamy soil. Too sandy, and it falls apart completely. Too clayey, and it stays in a sticky lump. My first garden was basically clay, and my poor plants struggled until I fixed it.
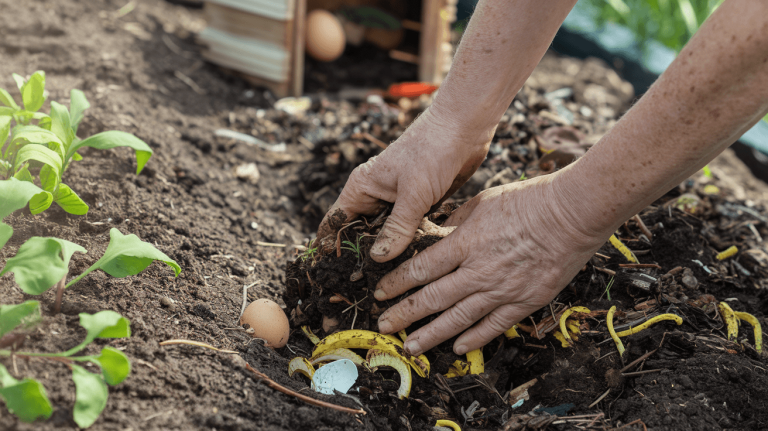
Natural Compost Creation from Kitchen Scraps
I used to throw away banana peels, coffee grounds, and egg shells until I realized they’re gardening gold. Now I collect them in a countertop bin and add them to my compost pile.
My compost setup is simple – just a bin in the corner of my yard where I layer “greens” (food scraps, fresh grass clippings) with “browns” (dead leaves, cardboard). The ratio I stick to is roughly 3 parts browns to 1 part greens. When I first started composting, I added too many kitchen scraps and ended up with a smelly mess. Balance is key!
I turn my pile every couple weeks with a garden fork. In about 3-6 months, I get this amazing dark, crumbly compost that my plants absolutely love. Last year, my compost-fed zucchini plants nearly took over the neighborhood.
What goes in my compost:
- Fruit and vegetable scraps
- Coffee grounds and filters
- Eggshells (I crush them first)
- Yard trimmings
- Shredded paper and cardboard
What stays out:
- Meat and dairy (attracts pests)
- Diseased plants (spreads problems)
- Pet waste (contains harmful bacteria)
Organic Fertilizers vs. Chemical Options
I’ve tried both paths, and I’m firmly in the organic camp now. Chemical fertilizers gave me quick results – my tomatoes shot up like they were on steroids. But I noticed the soil structure deteriorating over time, and I had to use more and more each season.
Organic fertilizers work differently. They release nutrients slowly as they break down, feeding my plants and improving my soil simultaneously. My favorites are:
- Compost (homemade or store-bought)
- Worm castings (incredible stuff – my houseplants exploded with growth)
- Fish emulsion (smells awful but works wonders)
- Bone meal (great for root development)
Here’s how they compare in my experience:
| Aspect | Organic Fertilizers | Chemical Fertilizers |
|---|---|---|
| Cost | Higher upfront | Lower upfront |
| Results | Slower but lasting | Fast but temporary |
| Soil health | Improves over time | Can damage long-term |
| Application | Less frequent | More frequent |
| Environmental impact | Minimal | Can cause runoff issues |
Mulching Techniques to Conserve Water and Prevent Weeds
I spent my first gardening season constantly battling weeds and watering daily. Then I discovered mulch – my gardening life-changer.
I apply a 2-3 inch layer around my plants, keeping it about an inch away from stems to prevent rot. For vegetable gardens, I use straw or shredded leaves. Around my perennials and shrubs, I prefer wood chips. My front flower beds get a more decorative mulch since they’re visible from the street.
The benefits I’ve seen are incredible:
- I water about half as often now
- Weeds have decreased by at least 75%
- My soil temperature stays more stable
- Earthworms have moved in (a great sign!)
- Less soil splashing onto my plants means fewer diseases
Last summer during a two-week drought, my mulched gardens stayed healthy while my neighbor’s unmulched plots struggled. The proof was right there.
Planting Techniques for Maximum Yield
A. Proper Seed Starting Methods Indoors and Outdoors
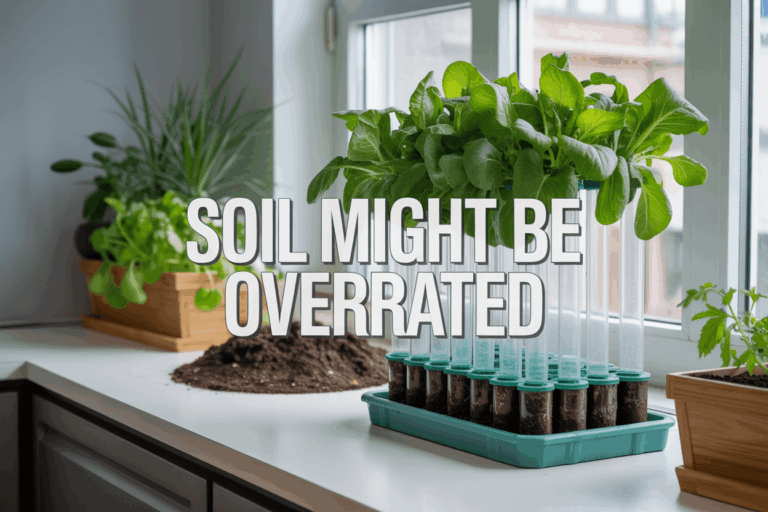
I’ve killed more seedlings than I care to admit in my early gardening days. Trust me, learning proper seed starting techniques will save you heartache (and money).
For indoor seed starting, I use a simple setup: seed trays with drainage, quality seed starting mix (never garden soil!), and a sunny window or grow light. I’ve found that soaking larger seeds like beans or peas for 12-24 hours before planting gives them a head start.
When planting, I follow this simple rule: plant seeds at a depth roughly twice their diameter. Too deep and they’ll never emerge; too shallow and they’ll dry out.
For outdoor direct sowing, I wait until the soil temperature is right for each crop. Here’s what works for me:
| Crop Type | Preferred Soil Temp | Best Time to Plant |
|---|---|---|
| Cool Season (lettuce, spinach) | 45-65°F | Early spring or fall |
| Warm Season (tomatoes, peppers) | 65-85°F | After last frost date |
| Root Vegetables | 60-70°F | Spring or late summer |
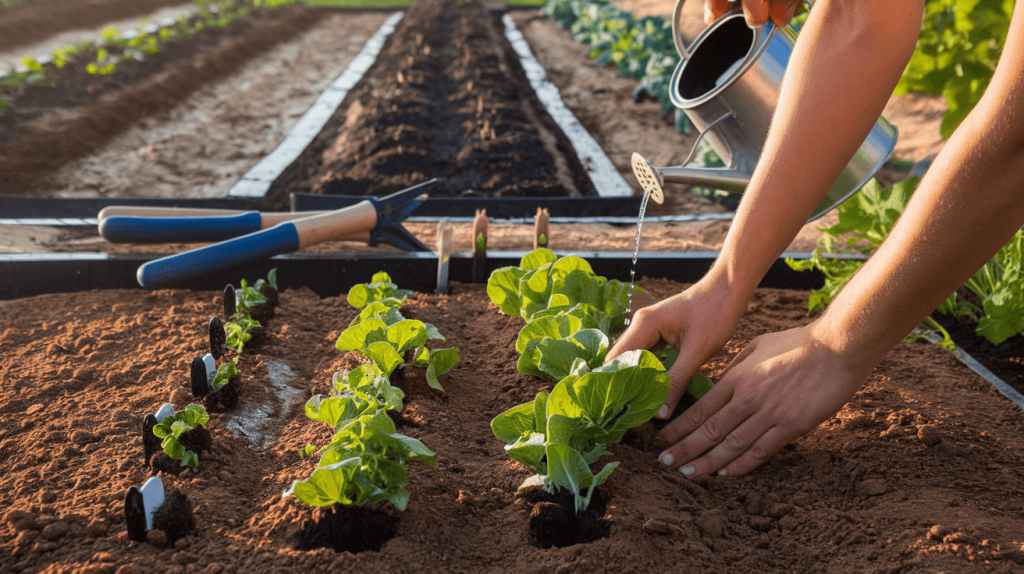
B. Transplanting Seedlings Without Shock
Transplant shock used to ruin half my seedlings until I learned some tricks. First, I always “harden off” my indoor seedlings by gradually exposing them to outdoor conditions over 7-10 days.
Before transplanting, I water both the seedlings and the planting hole thoroughly. This simple step has dramatically improved my success rate.
I never pull seedlings by their stems! Instead, I gently lift them from beneath, supporting the root ball. When possible, I transplant on cloudy days or in the evening to reduce stress.
After planting, I water again with a diluted seaweed solution – it’s like a smoothie for stressed plants and helps them recover faster.
C. Spacing Guidelines for Different Plant Types
I’ve packed too many plants into too little space more times than I can count. Now I know better.
For root vegetables like carrots and radishes, I space them 2-4 inches apart in rows 12 inches apart. These guys need room for their roots to develop properly.
Leafy greens need about 6-8 inches between plants, while cabbage family crops (broccoli, cauliflower) need at least 18 inches.
Vining plants are the space hogs of my garden. Cucumbers, melons, and squash need 24-36 inches between plants or I’ll end up with a tangled mess and smaller yields.
Tomatoes and peppers thrive with 18-24 inches between plants. I’ve tried cramming them closer, but the airflow problems lead to disease every time.
D. Companion Planting to Boost Growth and Deter Pests
Companion planting has been a game-changer in my garden. I plant basil near my tomatoes – not just because they taste great together on my plate, but because basil repels tomato hornworms and improves tomato flavor.
Marigolds are my garden’s best friends. I border my vegetable beds with them to repel nematodes and other pests. The splash of color is just a bonus.
Some of my favorite pairings:
- Carrots and onions (onions repel carrot flies)
- Cucumbers and nasturtiums (nasturtiums deter cucumber beetles)
- Corn, beans, and squash (the famous “Three Sisters” method)
E. Succession Planting for Continuous Harvests
I used to plant everything at once and end up with more lettuce than I could eat, followed by weeks of nothing. Succession planting solved this problem.
Now I plant small batches of quick-growing crops every 2-3 weeks. Radishes, lettuce, spinach, and green beans work perfectly for this approach.
I keep a simple calendar noting when I planted each batch and when I should plant the next one. This system has kept my kitchen supplied with fresh veggies all season long.
For fall harvests, I count backward from my first frost date. I plant cool-season crops like kale and spinach in late summer for a second harvest when temperatures drop.
Essential Garden Maintenance Routines
Watering Schedules That Promote Strong Root Development
I’ve learned through trial and error that watering correctly is probably the most crucial aspect of garden maintenance. When I first started gardening, I was either drowning my plants or letting them parch. Now I know better!
For most plants in my garden, I follow the “deep but infrequent” rule. I water thoroughly until moisture reaches about 6-8 inches deep, then wait until the top 1-2 inches of soil dries out before watering again. This approach has forced my plants’ roots to grow deeper in search of water, making them more drought-resistant and stable.
Morning watering works best for me. I get out there around 6-7am before the day heats up. This gives plants time to absorb moisture before evaporation kicks in and reduces the risk of fungal diseases that thrive in damp overnight conditions.
I’ve set up different watering schedules based on plant types:
| Plant Type | Watering Frequency | Signs They Need Water |
|---|---|---|
| Vegetables | Every 2-3 days | Slightly wilted leaves in morning |
| Perennials | Once weekly | Dry soil 2 inches down |
| Containers | Daily in summer | Top soil looks dry |
| Seedlings | Daily, lightly | Surface appears dry |
Instead of relying on timers, I stick my finger in the soil. Sounds simple, but it’s my most reliable test!
Pruning Basics to Encourage Healthy Growth
I used to be terrified of pruning. What if I cut too much? Would I kill my plants? Now it’s one of my favorite garden tasks because the results are so rewarding.
For flowering plants, I prune right after they bloom. This gives them time to develop new growth that will produce next year’s flowers. My vegetable garden is different – I regularly pinch back herbs like basil and mint to encourage bushier growth and remove suckers from tomato plants to direct energy to fruit production.
I always use clean, sharp tools. Dull pruners crush stems instead of making clean cuts, which can invite disease. I wipe my pruners with alcohol between plants to prevent spreading any infections.
Some basic pruning cuts I use:
- Heading cuts: When I cut a branch back to a bud, stimulating dense, compact growth
- Thinning cuts: Removing entire branches to open up the plant’s center for better air circulation
- Pinching: Using my fingernails to remove soft new growth, encouraging branching
Dead, diseased, and damaged branches are always the first to go. I look for these “three Ds” during every garden walk. After that, I remove any branches that cross or rub against each other, which can create wounds and entry points for pests.
Weeding Strategies That Save Time and Energy
I’ve developed a love-hate relationship with weeding. It’s meditative but can be overwhelming if I let it go too long. My secret? Little and often.
I spend about 15 minutes each morning with my coffee, pulling any weeds I spot. This prevents them from getting established and going to seed. One weed can produce thousands of seeds, so catching them early saves me hours of work later.
My favorite weeding tool is a simple hand fork for small areas and a long-handled hoe for larger spaces. I’ve found that weeding after rain or watering makes the job much easier as roots slip right out of moist soil.
Mulching has been my game-changer. I apply a 2-3 inch layer of organic mulch (compost, straw, or wood chips) around my plants. This smothers weed seeds by blocking sunlight and creates a barrier that’s difficult for weeds to penetrate. As a bonus, it also retains moisture and gradually improves my soil as it breaks down.
Supporting Plants as They Grow Taller
I learned the hard way that plants need support before they start flopping over. Now I install supports early in the season when plants are still small.
For my tomatoes, I use sturdy cages reinforced with stakes. I’ve tried the small conical cages sold at garden centers but found they’re too flimsy for indeterminate varieties that can grow over 6 feet tall.
I use bamboo teepees for climbing beans and peas, securing the vines with soft plant ties as they grow. For floppy perennials like peonies and dahlias, I place support rings over them early in spring so they grow through the supports naturally.
Wooden or metal stakes work well for individual tall plants. I position them close to the stem but not touching it, then secure the plant with figure-eight ties that prevent stem damage from rubbing.
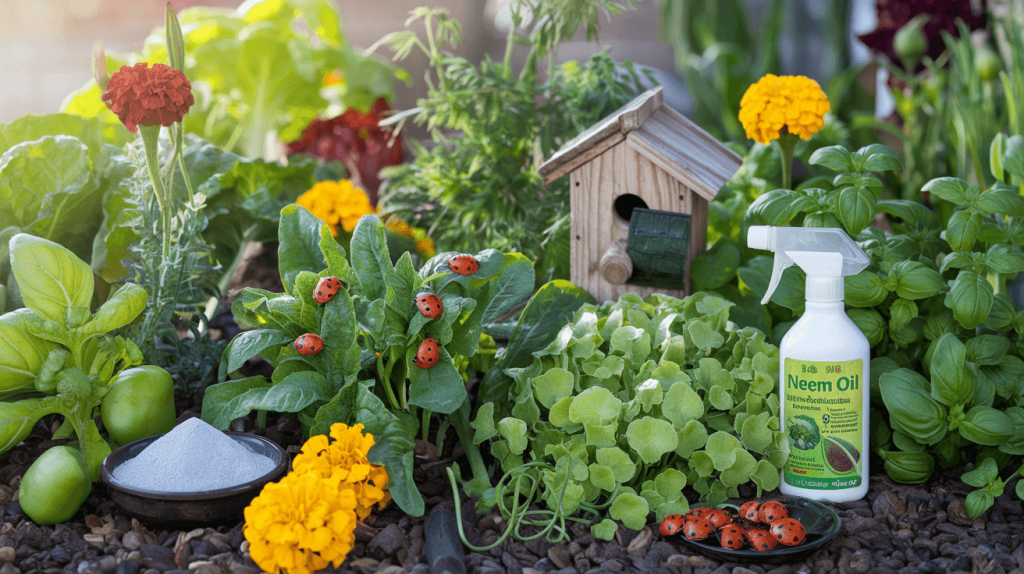
Natural Pest Management for Organic Gardens
A. Identifying Common Garden Pests
Look, I’ve battled some serious critters in my garden over the years. Trust me when I say knowing your enemy is half the battle!
When I walk through my garden each morning, I’m basically playing detective. Those tiny holes in my lettuce leaves? Flea beetles. The sticky residue on my tomato stems? Aphids having a party.
Here are the usual suspects I encounter:
- Aphids: These tiny green, black, or white bugs cluster on new growth and suck plant juices. I spot them by looking for curled leaves and that sticky “honeydew” they leave behind.
- Cabbage worms: These green caterpillars blend in perfectly with my brassicas. I check the undersides of leaves when I see those telltale irregular holes.
- Squash bugs: Dark brown and shield-shaped, these pests love my zucchini and pumpkins. I find their bronze-colored egg clusters under leaves.
- Tomato hornworms: These huge green caterpillars can strip a tomato plant overnight! Their droppings (little black pellets) usually give them away before I spot their camouflaged bodies.
- Spider mites: I need my reading glasses to see these tiny specks, but the yellowing leaves and fine webbing are dead giveaways.
B. Beneficial Insects That Protect Your Plants
Not all bugs are bad news! I’ve learned to welcome certain insects as my garden allies.
I actually cheer when I spot ladybugs in my garden. Each one can devour up to 5,000 aphids in its lifetime! Talk about natural pest control.
My garden’s MVPs include:
- Ladybugs: These spotted beauties gobble up aphids, mites, and scale insects. I’ve planted dill, fennel, and yarrow to attract them.
- Praying mantises: Nature’s ninjas! They eat almost any insect, including moths that lay destructive caterpillar eggs.
- Ground beetles: These nighttime hunters patrol my soil for slugs, snails, and cutworms.
- Hoverflies: Often mistaken for small wasps, their larvae feast on aphids while adults help pollinate my flowers.
- Parasitic wasps: Tiny but mighty! They lay eggs inside caterpillars and aphids, controlling populations naturally.
C. Homemade Sprays and Remedies for Pest Control
Why spend a fortune on commercial products when my kitchen contains everything I need for effective pest control?
My go-to homemade spray is a simple garlic-pepper mixture. I blend 4 cloves of garlic and 2 hot peppers with 2 cups of water, strain it, and add a tiny drop of dish soap. Works like magic on soft-bodied pests!
Other DIY remedies I swear by:
- Neem oil solution: I mix 2 teaspoons of neem oil with 1 teaspoon of mild liquid soap and 1 quart of water. This spray disrupts the life cycle of many insects.
- Diatomaceous earth: I sprinkle this powder around plants to slice through the exoskeletons of crawling insects. It’s like microscopic razor blades to them, but harmless to my plants.
- Soap spray: My simple mix of 1 tablespoon of mild liquid soap per quart of water suffocates soft-bodied insects.
- Beer traps for slugs: I bury shallow containers of beer with their rims at soil level. Slugs crawl in and drown – while having their last happy hour!
D. Physical Barriers and Traps for Persistent Problems
Sometimes, the best strategy is simply keeping pests away from my precious plants.
I’ve become quite the garden architect with my physical barriers. Row covers have saved my cabbage family plants from those pesky white butterflies that lay eggs all over them. I just remember to remove the covers when plants flower so bees can pollinate them.
My favorite physical controls:
- Floating row covers: Lightweight fabric that lets in light and water but keeps insects out. Perfect for young seedlings.
- Copper tape: I wrap this around raised beds to create a barrier slugs and snails won’t cross. Something about the copper gives them a tiny shock.
- Sticky traps: Yellow for aphids and whiteflies, blue for thrips. I hang these among affected plants to catch flying adults.
- Collars for cutworms: Simple cardboard collars around seedling stems prevent these nocturnal pests from cutting down my young plants.
- Companion planting: I interplant aromatic herbs like basil, rosemary and marigolds throughout my garden. The strong scents confuse pests trying to locate their favorite crops.
Harvesting and Enjoying Your Garden’s Bounty
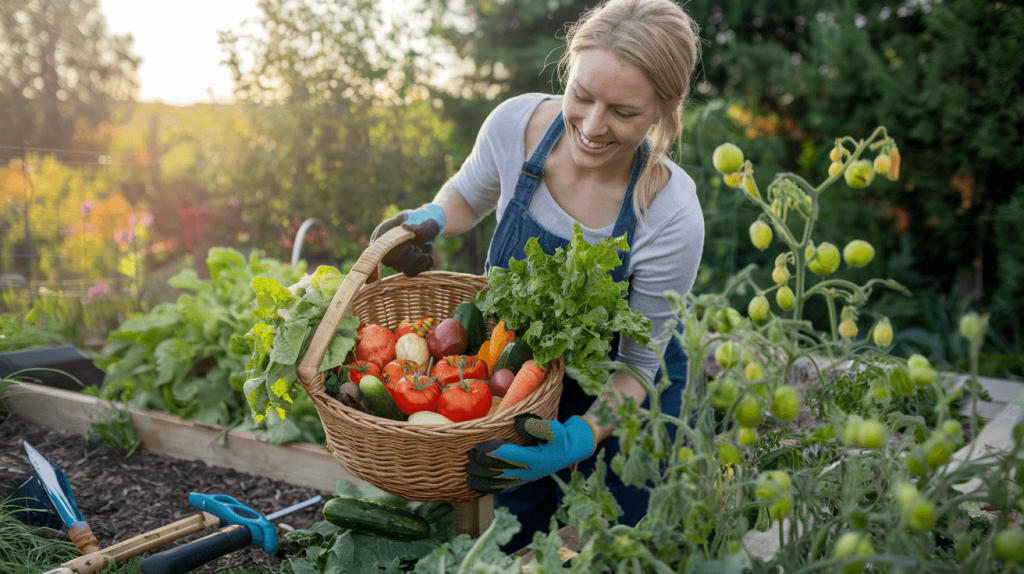
Recognizing When Vegetables and Fruits Are Ready to Pick
Nothing beats the satisfaction of plucking that first ripe tomato from my garden. After weeks of nurturing, I’ve learned timing is everything when it comes to harvesting.
For tomatoes, I wait until they’re fully colored but still firm. I’ve found that if they’re too soft, they won’t last long after picking. With leafy greens like lettuce and spinach, I harvest in the morning when they’re crisp and flavorful. I simply cut the outer leaves and let the center keep growing for multiple harvests.
Root vegetables can be tricky! I’ve dug up potatoes too early more times than I’d like to admit. Now I wait until the foliage dies back completely. For carrots, I gently brush away soil near the top to check their size – they’re usually ready when the crown is about 1 inch in diameter.
Herbs are pretty forgiving. I snip them regularly to encourage bushier growth. My rule of thumb: never take more than one-third of the plant at once.
Preserving Techniques for Excess Produce
My first big harvest nearly overwhelmed me! Now I have a few go-to methods for dealing with the bounty:
Freezing is my MVP technique. I blanch vegetables like green beans and broccoli before freezing, but berries go straight into freezer bags. Pro tip: I freeze herbs in olive oil using ice cube trays – perfect for tossing into winter soups.
I’ve gotten into canning lately. It seemed intimidating at first, but water bath canning for high-acid foods like tomatoes and pickles is surprisingly straightforward. I always follow tested recipes to ensure safety.
Dehydrating has been a game-changer for my herbs and surplus zucchini. Those little dried zucchini chips disappear fast in my household!
Creative Ways to Use Fresh Herbs in Your Kitchen
Fresh herbs have transformed my cooking. I make herb-infused oils by simply steeping cleaned herbs in olive oil for a few days. These make amazing salad dressings and marinades.
Herb butter is another favorite. I mix softened butter with finely chopped herbs, roll it into a log in parchment paper, and slice off rounds whenever I need to elevate a dish.
I’ve started making my own pesto with whatever herbs are abundant – not just basil! Cilantro-mint pesto is surprisingly delicious on grilled fish.
For preserving herb flavors, I freeze herb pastes in ice cube trays with a bit of water or oil. Perfect for adding that fresh taste to winter dishes.
Saving Seeds for Next Season’s Garden
I used to buy new seeds every year until I realized I could save my own! Now I select the healthiest, most productive plants for seed collection.
For tomatoes and cucumbers, I scoop out the seeds, ferment them in water for a few days to remove the gel coating, then dry them thoroughly on coffee filters.
With beans and peas, I leave some pods on the plant until they’re completely dry and brittle. The seeds inside are perfect for next year’s planting.
I store all my saved seeds in paper envelopes labeled with the variety and date, then keep them in a cool, dry place. Some of my best garden performers have come from seeds I’ve saved over multiple generations, as they’ve adapted perfectly to my specific growing conditions.
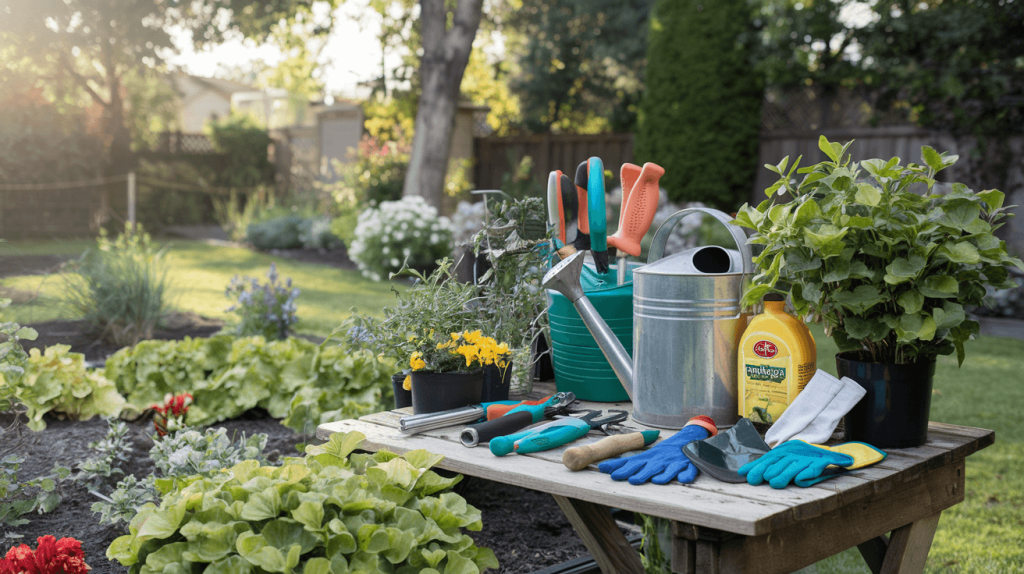
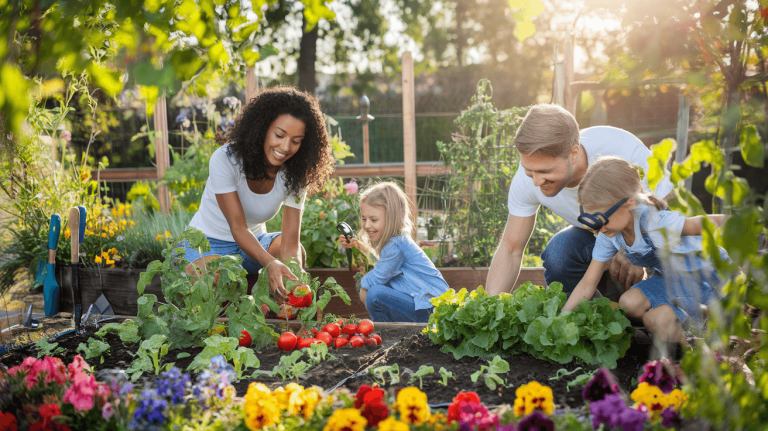
After exploring the world of home gardening, I hope you’re feeling inspired to get your hands dirty and create your own green sanctuary. From assessing your growing space to harvesting your first crops, remember that gardening is as much about the journey as it is about the results. Starting with the right tools, selecting beginner-friendly plants, and understanding proper soil preparation will set you up for success from day one.
I’ve found that gardening offers more than just fresh produce or beautiful flowers—it provides a sense of accomplishment, a connection to nature, and a peaceful escape from our busy lives. Whether you’re growing herbs on a windowsill or planning a backyard vegetable garden, start small, be patient with yourself, and don’t be afraid to learn from mistakes. Your garden will evolve as your skills grow, and before you know it, you’ll be sharing your own gardening wisdom with others. Now grab those seeds, dig in, and watch the magic unfold!

he blog was how do i say it… relevant, finally something that helped me. Thanks
I do trust all the ideas you’ve introduced for your post. They are very convincing and will certainly work. Nonetheless, the posts are very brief for beginners. May you please lengthen them a bit from subsequent time? Thank you for the post.
I got what you intend,saved to my bookmarks, very nice website .
Really excellent info can be found on blog.
Thanks – Enjoyed this blog post, can I set it up so I get an alert email when you publish a fresh post?
I am forever thought about this, regards for putting up.
Your article helped me a lot, is there any more related content? Thanks!