The Ultimate Guide to Organic Gardening of Vegetable
Last updated on January 11th, 2026 at 07:53 am
Did you know that 78% of home gardeners abandon their veggie patches within the first season because they’re doing it all wrong?
I’ve been there too. Five years and countless wilted plants later, I finally cracked the code to organic vegetable gardening that actually works in real backyards, not just Pinterest boards.
This guide will walk you through everything from soil preparation to natural pest control without the overwhelming jargon most gardening blogs throw at you.
The secret most “experts” won’t tell you? Successful organic vegetable gardening isn’t about buying expensive supplies or following rigid rules. It’s about understanding your specific environment and working with nature, not against it.
But before we dig into the dirt, there’s one counterintuitive technique that completely transformed my garden’s productivity last season…
Understanding the Basics of Organic Gardening
What Makes Gardening “Organic”
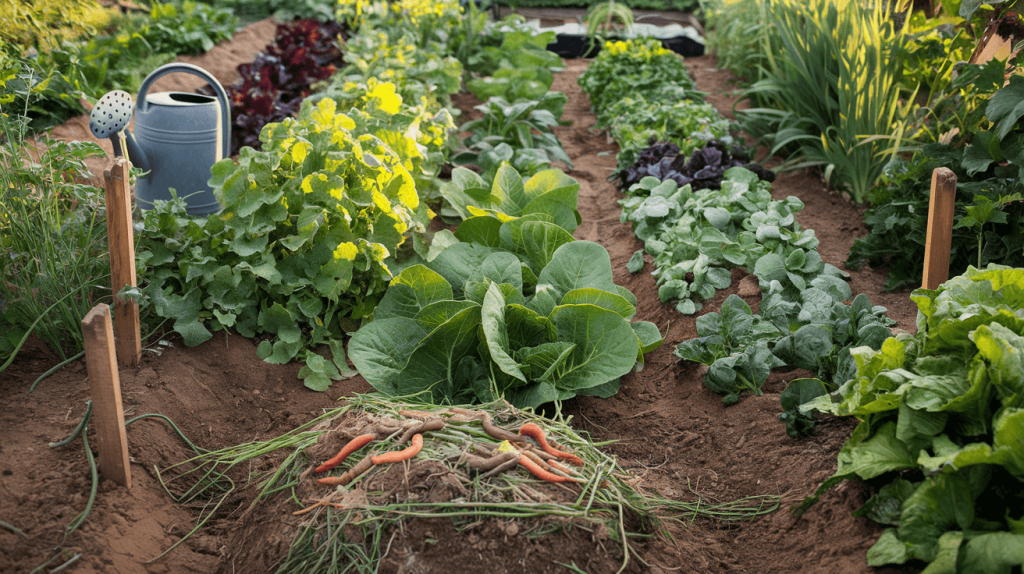
Ever wondered what actually makes your garden “organic”? It’s pretty simple at its core. Organic gardening means growing plants without synthetic chemicals like pesticides, herbicides, or fertilizers. Instead, you’re working with nature, not against it.
When you go organic, you’re committing to using natural materials and processes. Think compost instead of chemical fertilizers. Beneficial insects instead of toxic sprays. Mulch instead of weed killers.
But here’s the thing – organic gardening isn’t just about what you don’t use. It’s a whole system approach. You’re creating a living ecosystem where your soil teems with microorganisms, your plants develop natural resistance, and everything works together in harmony.
The beauty of organic gardening? You know exactly what’s going into your food. No mystery chemicals, no residues – just pure, natural goodness.
Benefits of Growing Your Own Organic Vegetables
Growing your own organic veggies is a game-changer, and not just for the obvious reasons.
First up, the flavor. Store-bought can’t compete with vegetables harvested minutes before eating. That tomato still warm from the sun? Nothing like it.
Then there’s the nutritional punch. Research shows organic vegetables often contain more vitamins, minerals, and antioxidants than their conventional counterparts. More nutrients per bite means better health for you and your family.
The financial savings add up too. A packet of organic seeds costs a few dollars but yields pounds of produce. Do the math – that’s serious grocery bill reduction.
And don’t overlook the environmental impact. Your organic garden creates habitat for pollinators, sequesters carbon, and eliminates the transportation emissions associated with store-bought produce.
Perhaps best of all? The satisfaction. There’s something deeply fulfilling about serving a meal you’ve grown yourself from seed to table.
Key Principles of Sustainable Gardening
Sustainable gardening isn’t complicated once you grasp the fundamentals. It all starts with soil health – the foundation of everything.
Build your soil like you’re creating a living entity, because you are. Add compost regularly. Use cover crops. Minimize digging to protect soil structure and the busy microbes making your garden thrive.
Water wisely. Drip irrigation delivers moisture directly to roots with minimal waste. Rainwater harvesting turns your roof into a resource. Mulching keeps moisture in and weeds out.
Encourage biodiversity – it’s your garden’s immune system. Plant flowers to attract beneficial insects. Mix up your veggies instead of planting in single-crop rows. Different plant families support different soil microbes.
Practice crop rotation to prevent pest buildup and nutrient depletion. This year’s tomatoes shouldn’t grow where last year’s tomatoes were.
Lastly, close the loop. Compost kitchen scraps and garden waste. Save seeds from your best performers. Your garden should become increasingly self-sufficient each year.
Essential Tools for the Organic Gardener
The right tools make organic gardening smoother, but you don’t need a shed full of fancy equipment to get started.
A quality hand trowel tops the list – look for one with a comfortable grip and sturdy construction. You’ll use it daily during the growing season.
A garden fork beats a shovel for most tasks. It aerates soil without disturbing structure and makes compost turning much easier.
Pruners are non-negotiable. Sharp, clean cuts help plants heal faster and reduce disease risk. Spring for bypass pruners – they cut like scissors rather than crushing stems.
For larger areas, consider a wheel hoe – the human-powered alternative to a rototiller. It’s perfect for weed control between rows without disturbing soil ecology.
Don’t overlook watering tools. A watering can with a rain-spout head delivers gentle hydration for seedlings. Soaker hoses or drip irrigation systems save water and time.
The best investment? Quality gloves. They’ll protect your hands and make gardening more comfortable through all seasons.
Planning Your Organic Vegetable Garden

Choosing the Perfect Location for Maximum Sunlight
Want your vegetables to actually grow instead of just wilting away? Sunlight is your best friend. Most vegetables need at least 6-8 hours of direct sunlight daily. Not sorta-kinda sunlight. Direct, unfiltered rays.
Take a day to observe your yard. Seriously. Grab a notebook and mark down which areas get full sun from morning to afternoon. That south-facing spot you’ve been ignoring? Probably garden gold.
Don’t have a perfectly sunny spot? No worries. Leafy greens like spinach and kale can manage with 4-6 hours. But tomatoes and peppers? They’re sun worshippers and need the full package.
Understanding Your Growing Zone and Season Planning
Ever planted too early and watched your seedlings get zapped by a late frost? Been there.
First things first: find your USDA hardiness zone. It’s not just gardener jargon—it’s your gardening calendar. Zone 5 is vastly different from Zone 9, and planting the same things at the same time just won’t work.
Your first and last frost dates are basically your gardening bookends. Write them down, tattoo them on your arm (kidding… maybe), but don’t ignore them.
Cool-season crops like broccoli and peas can handle some chill. Warm-season veggies like cucumbers and melons? They’ll sulk until the soil warms up.
Space Requirements for Different Vegetables
Some vegetables are space hogs. Others play nice. Knowing which is which saves you from a tangled garden mess.
Here’s a quick cheat sheet:
| Vegetable | Space Between Plants | Space Between Rows |
|---|---|---|
| Tomatoes | 24-36 inches | 48 inches |
| Lettuce | 6-8 inches | 12-18 inches |
| Zucchini | 36 inches | 48 inches |
| Carrots | 2-3 inches | 12-18 inches |
| Beans | 4-6 inches | 24-36 inches |
Remember that sprawling plants like squash and melons need room to roam—up to 6 feet in every direction. Underestimating space needs is the rookie mistake that keeps on giving… headaches, that is.
Designing an Efficient Garden Layout
The difference between a productive garden and a frustrating one often comes down to layout.
Raised beds? Traditional rows? Square foot gardening? They all work, but each has its own vibe.
Raised beds are perfect for poor soil conditions and they warm up faster in spring. Plus, less bending equals happier backs.
Traditional rows make sense for larger spaces and when you need to use equipment like tillers.
Square foot gardening maximizes tiny spaces and is absurdly efficient. One 4×4 bed can grow an impressive variety of veggies.
Whatever layout you choose, leave enough pathways to reach your plants without doing contortionist moves. Your back will thank you come harvest time.
Creating a Planting Calendar
A planting calendar isn’t just nice to have—it’s essential unless you enjoy gardening chaos.
Start by working backward from your last frost date for spring planting and your first frost date for fall crops.
Some seeds need to be started indoors weeks before they go outside. Others perform better when sown directly in the garden.
Create a simple calendar that shows:
- When to start seeds indoors
- When to direct sow outside
- When to transplant seedlings
- Expected harvest dates
Staggered planting (sowing small batches every 2-3 weeks) keeps you in lettuce or beans all season instead of drowning in them all at once.
Digital apps are handy, but there’s something satisfying about a paper calendar with soil smudges marking your garden journey. Either way, having a plan beats garden guesswork every time.
Building Healthy Soil – The Foundation of Organic Gardening
Testing and Understanding Your Soil Type
Ever tried to grow carrots in clay soil? It’s like asking a fish to climb a tree. Not gonna happen.
Before you plant a single seed, get to know your soil. Grab a handful when it’s slightly moist. Does it form a tight ball that doesn’t break easily? That’s clay. Does it feel gritty and fall apart? Sandy soil. Perfect crumbly texture that holds shape but breaks with gentle pressure? You’ve hit the jackpot with loamy soil.
Home test kits work great for checking pH and nutrient levels. Most vegetables love a slightly acidic soil (6.0-6.8 pH). Too acidic or too alkaline and your plants can’t access nutrients even if they’re present.
Natural Methods to Improve Soil Quality
Your soil isn’t a lost cause, no matter what you’re starting with.
For clay soil: Add coarse sand, gypsum, and tons of organic matter. This breaks up those tight clay particles so roots can breathe.
For sandy soil: Work in plenty of compost and aged manure. Think of it as adding a sponge to help retain moisture and nutrients.
For all soil types: Cover crops like clover, buckwheat, and winter rye work magic. Plant them in fall or during garden breaks, then turn them under a few weeks before planting. They’re nature’s multivitamin for soil.
Never, ever compact your soil. Create permanent paths and resist the urge to step where plants grow. Compaction is the silent killer of garden productivity.
Creating and Using Compost Effectively
Compost isn’t just nice to have—it’s essential for organic gardening. And making it isn’t rocket science.
Balance your greens (nitrogen-rich materials like kitchen scraps, fresh grass clippings) with browns (carbon-rich materials like dried leaves, straw, or cardboard). Aim for roughly 1:3 green to brown ratio.
A good compost pile should feel as moist as a wrung-out sponge. Too dry? Add water. Too wet? Add more browns and turn it.
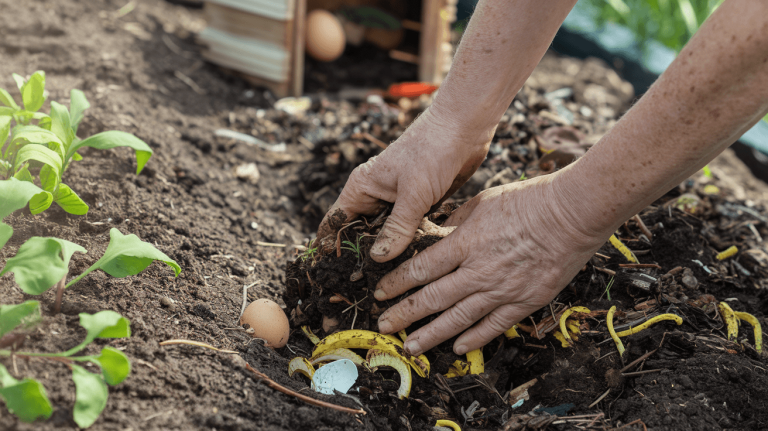
When it’s dark, crumbly, and smells earthy (not rotten), it’s ready. Top-dress around plants during the growing season or work it into beds before planting. About 1-2 inches on the surface does wonders.
The Role of Earthworms and Beneficial Microorganisms
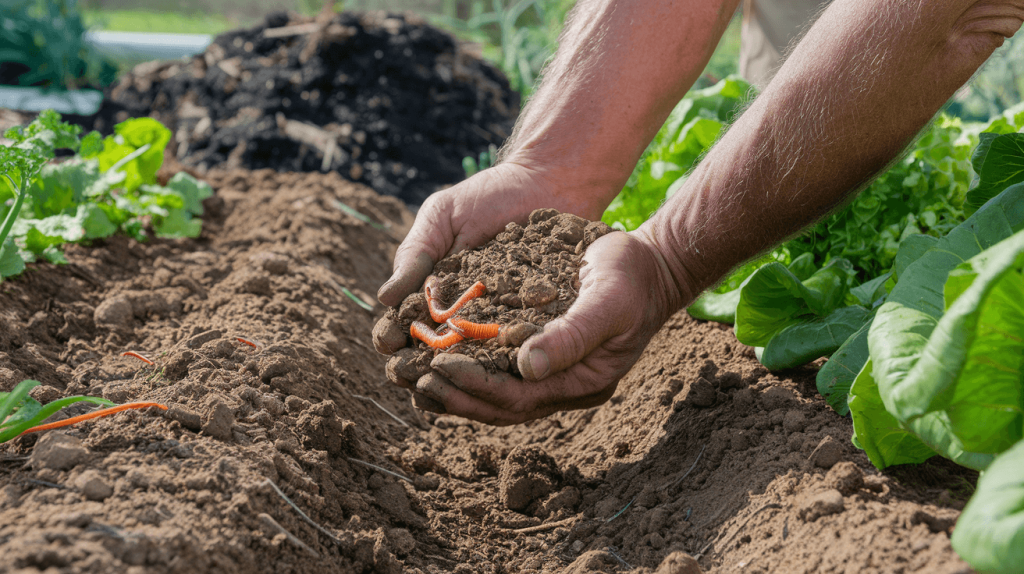
Earthworms are the unsung heroes of your garden. Each one processes about their weight in soil every day, leaving behind castings richer than the soil that went in.
To attract these garden allies:
- Keep the soil undisturbed when possible
- Maintain moisture (they breathe through their skin)
- Feed them with organic matter
- Never use synthetic fertilizers or pesticides
Beyond worms, your soil teems with microscopic life. Mycorrhizal fungi form partnerships with plant roots, extending their reach for nutrients and water by up to 700%. Bacteria break down organic matter into plant-available nutrients.
These soil microbes work like your garden’s digestive system. Feed them well with organic matter, protect them from harsh chemicals, and they’ll reward you with vegetables bursting with flavor and nutrition.
Selecting and Starting Seeds
Choosing Organic and Heirloom Varieties
Seeds aren’t just seeds. They’re little time capsules of flavor, history, and genetic diversity that big agriculture has been quietly erasing for decades.
Heirloom varieties are like the cool grandparents of the garden world – they’ve been around for at least 50 years, passed down through generations, and they’ve got stories to tell. The Black Krim tomato? Originated near the Black Sea. The Dragon’s Tongue bean? Traveled from the Netherlands with immigrants.
When picking seeds, look for these labels:
- Organic – grown without synthetic pesticides
- Open-pollinated – will produce true-to-type offspring
- Heirloom – traditional varieties with history
- Non-GMO – not genetically modified in a lab
Regional adaptation matters too. Seeds from plants that thrived in your climate for generations will likely perform better in your garden.
Seed Starting Techniques for Successful Germination
Starting seeds indoors is like running a tiny plant nursery, and it’s ridiculously satisfying.
You’ll need:
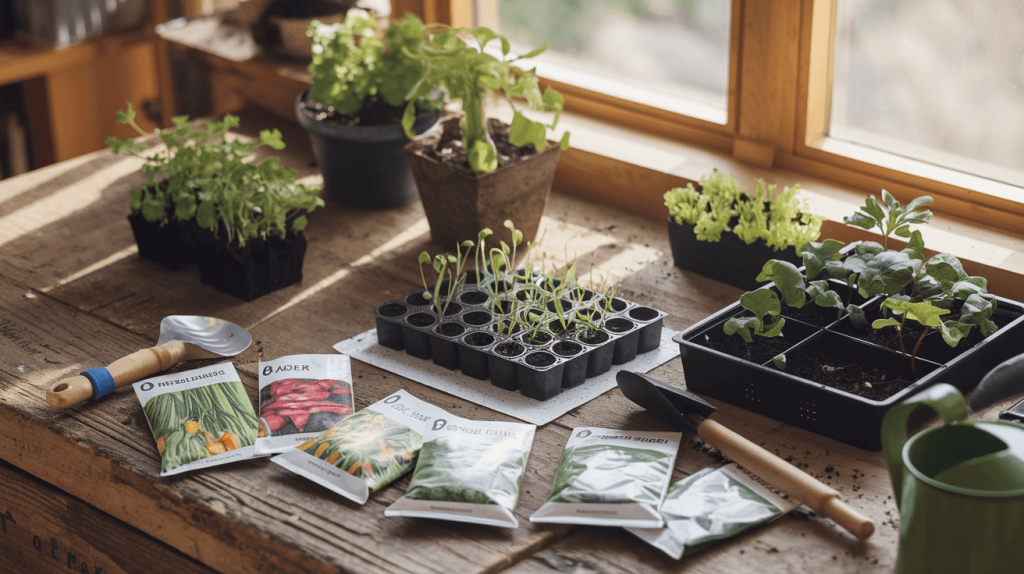
- Seed-starting mix (not garden soil!)
- Containers with drainage
- A bright window or grow lights
- Patience (seriously)
Most seeds germinate best between 65-75°F. Some like it warmer, some cooler. Check your seed packets – they’re not just pretty pictures; they’re instruction manuals.
The paper towel method is my go-to for testing germination rates. Just dampen a paper towel, place seeds on it, fold it over, and slip it into a ziplock bag. Check daily for that magical moment when the seed cracks open and a tiny root emerges.
For soil starting, the rule of thumb: plant seeds at a depth about twice their diameter. Tiny seeds? Barely cover them.
Direct Sowing vs. Transplanting: When to Use Each Method
Some plants throw absolute tantrums when you disturb their roots. Others couldn’t care less.
Direct sowing winners:
- Root vegetables (carrots, radishes, beets)
- Beans and peas
- Corn
- Cucumbers and squash
These plants hate being moved. Their root systems develop quickly and don’t recover well from transplant shock.
Transplant champions:
- Tomatoes
- Peppers
- Eggplants
- Brassicas (broccoli, cabbage, kale)
These plants need a head start in most climates and actually benefit from being slightly root-bound before planting out.
Timing is everything. Start transplants 4-8 weeks before your last frost date. Direct sow when soil temperatures are right for each crop – usually between 50-70°F depending on the vegetable.
Saving Your Own Seeds for Future Seasons
Saving seeds closes the circle. It’s gardening at its most self-sufficient.
But not all plants make it easy. Hybrids won’t grow “true to type” – meaning the offspring won’t resemble the parent. Stick with open-pollinated varieties.
For the easiest seed-saving experience, start with:
- Tomatoes
- Beans
- Peas
- Lettuce
- Peppers
Let the fruits fully ripen – way past the eating stage. For tomatoes, that slimy gel around the seeds actually prevents germination, so ferment them in water for a few days.
Dry seeds thoroughly before storing. The slightest moisture encourages mold and ruins everything. Store in paper envelopes or glass jars in a cool, dark place.
Label everything immediately. Trust me, you won’t remember which tomato variety is which next spring.
By saving seeds from your best-performing plants, you’re actually breeding varieties specifically adapted to your microclimate. How cool is that?
Natural Plant Care and Maintenance
Proper Watering Techniques for Water Conservation
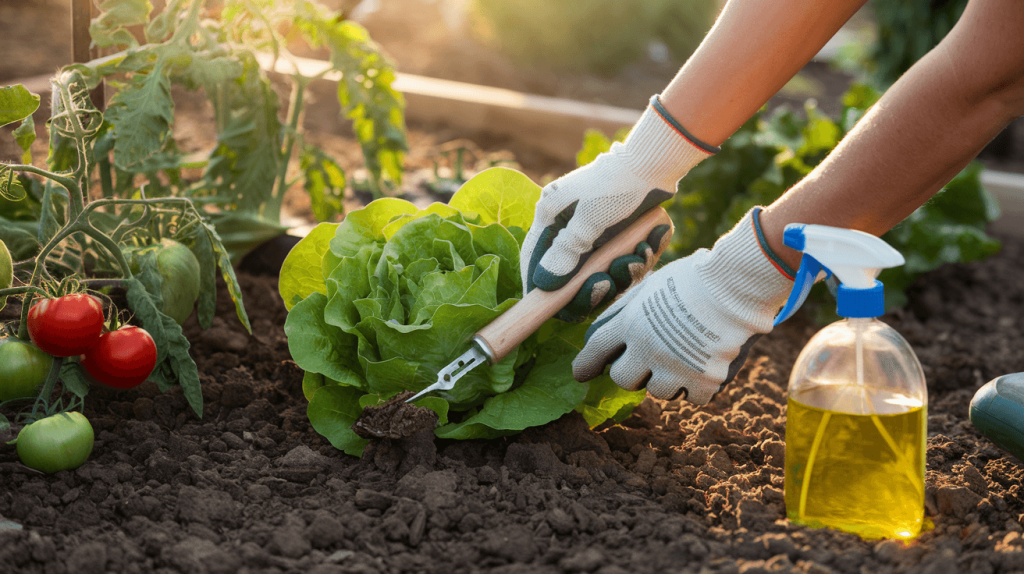
The secret to a thriving organic garden isn’t drowning your plants. Most beginners make this mistake – they love their vegetables to death with too much water.
Smart watering saves time, conserves a precious resource, and grows healthier plants. Here’s the deal: water deeply but infrequently. This encourages roots to grow downward, making plants more drought-resistant.
Morning is prime watering time – before the sun gets high. Your plants drink up before evaporation steals the moisture, and wet foliage has time to dry, preventing fungal issues.
For maximum efficiency:
- Use drip irrigation or soaker hoses that deliver water directly to the soil
- Install rain barrels to capture free water from the sky
- Apply water to the base of plants, not the leaves
- Check soil moisture with the finger test – stick your finger 2 inches down; if it’s dry, water
Mulching Methods to Suppress Weeds and Retain Moisture
Mulch is your garden’s best friend. It’s basically a protective blanket that keeps moisture in, weeds out, and gradually feeds your soil.
Organic mulches work double-duty in your vegetable garden. They break down over time, adding nutrients while protecting your soil. Win-win.
Top mulch options for organic gardens:
- Straw: Excellent for vegetable gardens, stays put, decomposes slowly
- Shredded leaves: Free resource that adds nutrients as it breaks down
- Grass clippings: Quick to decompose, high in nitrogen (mix with brown materials)
- Wood chips: Great for paths, but keep them away from stems to prevent rot
Apply a 2-3 inch layer around plants, keeping it pulled back slightly from stems to prevent rot. Refresh as needed throughout the growing season.
Natural Fertilizers and Feeding Schedules
Chemical fertilizers are like fast food for plants – quick energy followed by a crash. Natural fertilizers? They’re the slow-release, nutritionally balanced meal your garden craves.
Your organic garden needs three main nutrients: nitrogen (N) for leafy growth, phosphorus (P) for roots and fruits, and potassium (K) for overall health. Different plants need different ratios at different times.
Natural fertilizer options:
- Compost: The all-purpose garden food (apply 1-2 inches in spring)
- Worm castings: Nutrient-rich digestive byproduct of earthworms
- Fish emulsion: Quick nitrogen boost (apply every 2-3 weeks during growing season)
- Bone meal: Phosphorus source for flowering and fruiting plants
- Wood ash: Potassium source (use sparingly as it raises pH)
Heavy feeders like tomatoes and corn benefit from monthly feeding. Lighter feeders like beans and peas need less frequent attention.
Pruning and Training for Maximum Yields
Pruning isn’t just for fancy gardens. Strategic cutting can dramatically increase your vegetable harvest by directing plant energy where it counts.
Tomatoes are the poster child for pruning benefits. Removing suckers (those shoots that grow between stem and branch) focuses energy on fruit production rather than excess foliage.
For vine crops like cucumbers, squash, and melons, training them vertically saves space and improves air circulation. Use trellises, stakes, or cages to keep plants off the ground, reducing disease and making harvesting easier.
Pruning tips:
- Use clean, sharp tools to prevent disease spread
- Remove damaged, diseased, or crossing branches first
- Prune in the morning when plants are hydrated
- For most vegetables, avoid removing more than 1/3 of the plant at once
Companion Planting for Natural Pest Control
Mother Nature doesn’t do monoculture. Plants have evolved relationships with each other, and smart gardeners leverage these connections.
Companion planting creates a natural ecosystem that reduces pest problems without chemicals. Some plants repel specific insects, while others attract beneficial predators that hunt garden pests.
Powerful plant partnerships:
- Tomatoes + basil: Basil repels tomato hornworms and improves flavor
- Carrots + onions: Onion family plants mask the scent that carrot flies follow
- Beans + corn + squash: The “Three Sisters” method where corn provides support, beans fix nitrogen, and squash leaves shade out weeds
- Marigolds everywhere: These colorful flowers repel nematodes and many other garden pests
Beyond pest control, companion planting maximizes space efficiency and creates biodiversity that strengthens your entire garden ecosystem.
Organic Pest and Disease Management
A. Identifying Common Garden Pests and Diseases
Ever walked out to your garden expecting to find perfect vegetables only to discover holes in your leaves and wilting plants? Yeah, that’s the worst.
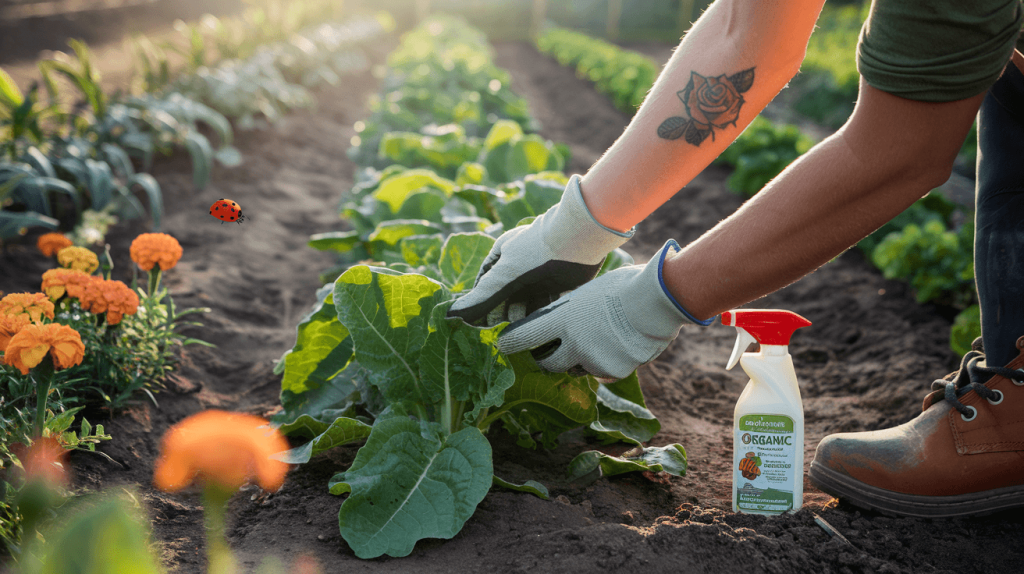
Knowing your enemy is half the battle in organic gardening. For common pests, keep an eye out for:
- Aphids: Tiny green, black, or white bugs clustering on stems and leaf undersides
- Cabbage worms: Green caterpillars that blend perfectly with leaves
- Cucumber beetles: Yellow striped beetles that spread bacterial wilt
- Squash bugs: Gray-brown insects that suck plant juices
Disease spotting is just as crucial:
- Powdery mildew: White powdery coating on leaves
- Blight: Brown spots on leaves that spread quickly
- Damping off: Seedlings suddenly collapsing at soil level
- Mosaic virus: Mottled yellow patterns on leaves
The trick? Check your plants twice weekly, focusing on leaf undersides where pests love to hide. Catching problems early makes organic solutions way more effective.
B. Prevention Strategies That Actually Work
Prevention beats treatment every single time. Trust me on this one.
Start with healthy soil – it’s your garden’s immune system. Plants grown in nutrient-rich soil with proper drainage simply resist pests better.
Some prevention tactics that actually deliver results:
- Crop rotation: Don’t plant the same family in the same spot year after year
- Physical barriers: Row covers, netting, and copper tape actually stop pests before they start
- Strategic spacing: Crowded plants create humid conditions where diseases thrive
- Timing matters: Plant when pest cycles are at their lowest point
Water management is huge too. Overhead watering practically invites fungal diseases to the party. Instead, water at soil level in the morning so plants can dry throughout the day.
And those weeds? They’re not just eyesores – they harbor pests and compete for nutrients. Pull them young before they become pest hotels.
C. Beneficial Insects and How to Attract Them
Your garden’s secret weapon? An army of beneficial insects doing the pest control for you.
The superstars you want in your garden include:
| Beneficial Insect | Pest Control Specialty | How to Attract |
|---|---|---|
| Ladybugs | Devour aphids, mealybugs, scale insects | Plant dill, fennel, yarrow |
| Lacewings | Eat aphids, caterpillars, mealybugs | Plant caraway, coriander, daisies |
| Ground beetles | Hunt slugs, snails, cutworms | Create rock piles, mulch areas |
| Parasitic wasps | Lay eggs in caterpillars and other pests | Plant herbs with tiny flowers |
| Hoverflies | Larvae eat aphids while adults pollinate | Plant alyssum, phacelia, cosmos |
The secret to attracting these garden allies? Diversity. Plant flowers that bloom throughout the season, especially those with small clustered blooms like yarrow, dill, and alyssum.
Avoid broad-spectrum organic sprays when possible – they kill good bugs too. And keep a small section of your garden a bit wild. Those undisturbed areas become beneficial insect nurseries.
D. Homemade Organic Sprays and Treatments
Sometimes even the best prevention fails, and you need to take action. But effective organic treatments don’t require expensive store-bought products.
My go-to homemade remedies that actually work:
Garlic-Pepper Spray
- 4 garlic cloves + 2 hot peppers
- Blend with 2 cups water
- Strain, add 1 tbsp liquid soap
- Spray on affected plants weekly
This works wonders on soft-bodied insects like aphids and caterpillars.
Baking Soda Fungicide
- 1 tbsp baking soda
- 1 tbsp vegetable oil
- 1 tsp liquid soap
- 1 gallon water
Apply to powdery mildew and early blight before they take hold.
Neem Oil Solution
- 2 tsp neem oil
- 1 tsp mild liquid soap
- 1 quart warm water
This multi-purpose spray disrupts insect feeding and reproduction without harming beneficial insects if used properly.
The timing of application matters enormously. Spray in early morning or evening when beneficial insects are less active and before pests become overwhelming. Consistency beats strength – regular applications of milder solutions work better than occasional strong treatments.
Remember to test any spray on a small part of the plant first – some plants are sensitive to even organic remedies.
Season Extension Techniques
Using Cold Frames and Row Covers
Ever watched your garden wither with the first frost while you stood by helplessly? Yeah, me too. That’s why I’m obsessed with cold frames and row covers – they’re like time machines for your garden.
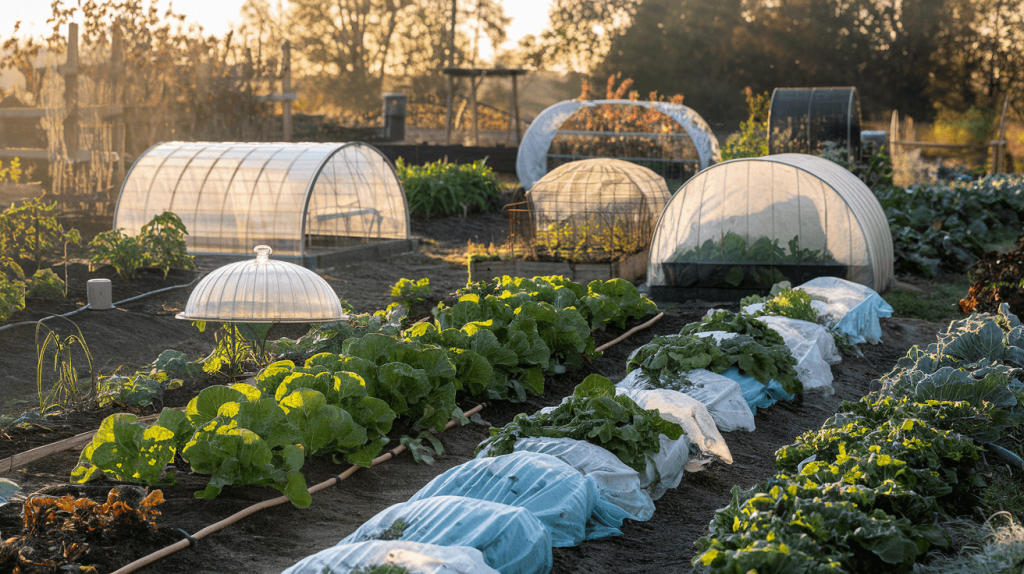
Cold frames are basically mini greenhouses – boxes with transparent tops that trap heat and protect plants from frost. You can buy fancy ones, but honestly? A few old windows propped over a wooden frame work just as well. Position them facing south to catch maximum sunlight.
Row covers are even simpler – lightweight fabric that drapes directly over plants. They’re cheap, reusable, and give you about 4-8°F of protection. For extra warmth, use hoops to create air space between the fabric and plants.
Here’s what works with each:
| Protection Method | Best For | Temperature Boost | Cost |
|---|---|---|---|
| Cold Frames | Leafy greens, root crops | 10-15°F | $30-200 |
| Row Covers | Most vegetables | 4-8°F | $10-40 |
Pro tip: On sunny days, vent your cold frames! I once cooked my spinach because I forgot. Not the harvest I was hoping for.
Building Simple Hoop Houses and Greenhouses
Think building a greenhouse requires construction skills and big bucks? Wrong. DIY hoop houses are ridiculously easy and can extend your growing season by months.
The simplest version uses PVC pipes bent into half-circles over garden beds, covered with greenhouse plastic. Six hoops, some plastic, and you’ve got yourself a mini-greenhouse for under $50.
For something more permanent, consider a kit greenhouse. They’re basically adult LEGO sets that give you years of growing space.
My neighbor Carmen built a hoop house last fall using cattle panels instead of PVC – that thing weathered three snowstorms while her kale kept producing. Talk about garden goals.
Temperature management is crucial though. Without proper ventilation, you’ll create a sauna that’ll stress your plants. Install roll-up sides or end flaps you can open on warm days.
Succession Planting for Continuous Harvests
Nobody wants to harvest 30 heads of lettuce in one week, then stare at empty garden beds for months. That’s where succession planting comes in – it’s the secret to harvesting fresh vegetables from spring through fall.
Instead of planting everything at once, stagger your plantings every 2-3 weeks. By the time you finish harvesting one batch, the next is ready to go.
Start by making a simple calendar. Work backward from your first and last frost dates. For quick crops like radishes or lettuce, you can get 3-4 plantings per season.
This works especially well with:
- Lettuce and salad greens
- Radishes
- Bush beans
- Carrots
- Beets
The trick is understanding how temperature affects growth rates. Spring and fall plantings might take 40 days to mature, while summer plantings could take just 30 days because of increased warmth and light.
I used to think succession planting was too complicated until I tried it with radishes. Now I’m hooked – there’s something magical about having fresh harvests all season long.
Harvesting, Storing, and Preserving Your Organic Bounty

Knowing When to Harvest for Peak Flavor and Nutrition
Timing is everything in gardening. Wait too long to harvest and you’ll end up with woody, bitter veggies. Pick too early and you miss out on that perfect flavor. Here’s the inside scoop on harvesting at just the right moment:
Leafy greens? Grab them when they’re young and tender. Lettuce, spinach, and kale taste sweetest before they bolt.
Tomatoes show their readiness by color and slight give when squeezed. That deep red (or whatever color your variety should be) means they’re packed with lycopene and ready to eat.
Root vegetables like carrots and beets often hide their progress underground. Pull one test specimen to check size. They’re usually sweetest when medium-sized—not too tiny, not massive.
Squash and cucumbers grow shockingly fast. Check daily once they start producing! Smaller usually means more tender and flavorful. That massive zucchini might look impressive, but it’ll taste bland and seedy.
Morning harvesting gives you the highest nutrient content and best flavor. Plants recharge overnight, so they’re at their peak just as the dew dries.
Proper Storage Methods for Different Vegetables
Different veggies need different homes after harvest. Store them wrong, and you’ll watch your hard work wilt away in days instead of weeks.
Root cellar champions: Potatoes, onions, winter squash, and garlic need cool, dark, and dry conditions. Keep these guys around 50-60°F with good air circulation. But don’t mix potatoes and onions—they make each other spoil faster!
Refrigerator friends: Most leafy greens, broccoli, and carrots crave cold and humidity. Wrap them loosely in slightly damp paper towels before refrigerating. For herbs, treat them like flowers—trim the ends and place in a glass of water with a loose bag over the top.
Counter dwellers: Tomatoes lose all flavor in the fridge. Keep them at room temperature until fully ripe, then eat immediately for that perfect garden-fresh taste.
Some quick storage hacks:
- Never wash produce until you’re ready to use it
- Remove rubber bands and twist ties immediately
- Store fruits separate from vegetables (fruits release ethylene that speeds ripening)
- Check stored produce regularly and remove anything starting to spoil
Preserving Techniques: Freezing, Canning, and Drying
Got more bounty than you can eat fresh? Welcome to the world of food preservation! Each method has its sweet spot depending on what you’re working with.
Freezing works beautifully for most vegetables. The trick is blanching first—quick boil followed by ice bath—to preserve color, nutrition and texture. Tomatoes, peppers, berries, and cut corn freeze exceptionally well. Pack in airtight containers with as little air as possible.
Canning seems intimidating but it’s really just science and attention to detail. Tomatoes, pickles, jams, and salsas are perfect canning projects for beginners. Always follow tested recipes exactly—this isn’t the place to get creative with acid levels or processing times.
Dehydrating concentrates flavors amazingly. Herbs dry easily by hanging in bunches. Tomatoes, apples, and zucchini transform into intense flavor bombs in a dehydrator or low-temperature oven. Dried herbs keep for a year, while dried fruits and vegetables can last 6-12 months in airtight containers.
Fermentation deserves a mention too—kimchi, sauerkraut and pickles not only preserve your harvest but enhance it with probiotic goodness.
Using Garden Scraps and Leftovers
The cycle doesn’t end at harvest—those scraps and less-than-perfect specimens have serious potential!
Transform imperfect tomatoes into sauce or salsa. Slightly wilted greens? Throw them into soups or blend into pesto. Carrot tops make surprisingly delicious chimichurri sauce. Herb stems add flavor to stocks.
Vegetable stock is the ultimate scrap salvation. Keep a container in your freezer for onion ends, celery leaves, carrot peels, and herb stems. When full, simmer with water for an hour and strain. Free flavor!
Seed saving from your best producers creates a direct connection to next season. Tomato and pepper seeds need fermenting first to remove their gel coating. Cucumber and squash seeds should be cleaned and dried thoroughly.
And of course, composting transforms absolute garden waste into next year’s fertility. Layer green material (kitchen scraps, fresh weeds) with brown material (dried leaves, small twigs) for the perfect decomposition environment.
The true organic gardener wastes nothing—it’s all part of the beautiful cycle that makes growing your own food so rewarding.
Advanced Organic Gardening Methods
Exploring No-Dig and Lasagna Gardening
Gone are the days of breaking your back with a shovel. No-dig gardening is a game-changer for organic gardeners who’d rather spend time harvesting than digging.
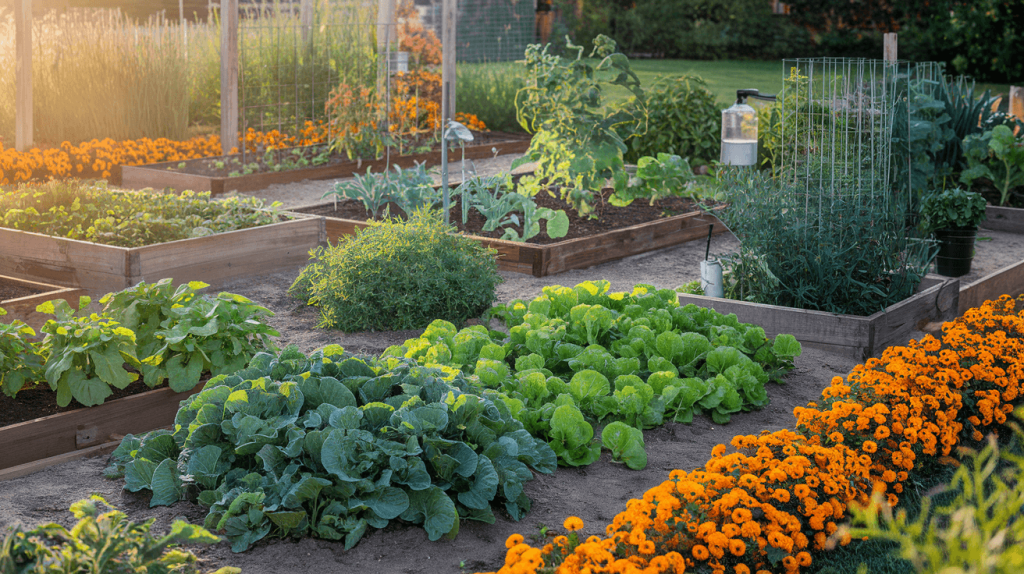
The concept is brilliantly simple: instead of disrupting soil structure, you build up. Start with cardboard over grass or weeds, then layer organic materials like compost, leaves, and straw. Your garden literally becomes a living lasagna of nutrients!
I tried this method three years ago and haven’t looked back. My vegetable yields doubled while my work hours halved. The soil life—worms, fungi, and beneficial bacteria—explode in these undisturbed environments.
Tips for no-dig success:
- Layer at least 6 inches of compost on top for immediate planting
- Use nitrogen-rich materials (manure, kitchen scraps) alternated with carbon-rich ones (straw, cardboard)
- Add a fresh 1-inch compost layer annually instead of digging
Implementing Permaculture Principles
Permaculture takes organic gardening from a hobby to a lifestyle. It’s about working with nature, not against it.
The core idea? Create garden systems that mimic natural ecosystems. Your vegetable garden becomes self-sustaining when you apply these fundamental principles:
- Observe and interact with your specific garden space before making changes
- Catch and store energy through water harvesting and mulching
- Obtain a yield while allowing plants to fulfill their natural functions
- Apply self-regulation by choosing plants that thrive with minimal intervention
My favorite permaculture technique? Creating guilds—symbiotic plant groupings. Picture tomatoes with basil and marigolds underneath, corn with climbing beans and squash at its feet. These aren’t just companion plantings; they’re intentional communities where each plant serves multiple functions.
Square Foot and Vertical Gardening Techniques
Space constraints? No problem. Square foot and vertical gardening techniques turn limitations into advantages.
Square foot gardening divides growing areas into 1-foot squares with different vegetables in each. It’s ridiculously efficient. A 4×4 bed can produce enough vegetables for one person all summer.
Here’s how to maximize your square footage:
| Plant Type | Plants Per Square Foot |
|---|---|
| Lettuce | 4 |
| Carrots | 16 |
| Tomatoes | 1 (with support) |
| Peppers | 1 |
| Spinach | 9 |
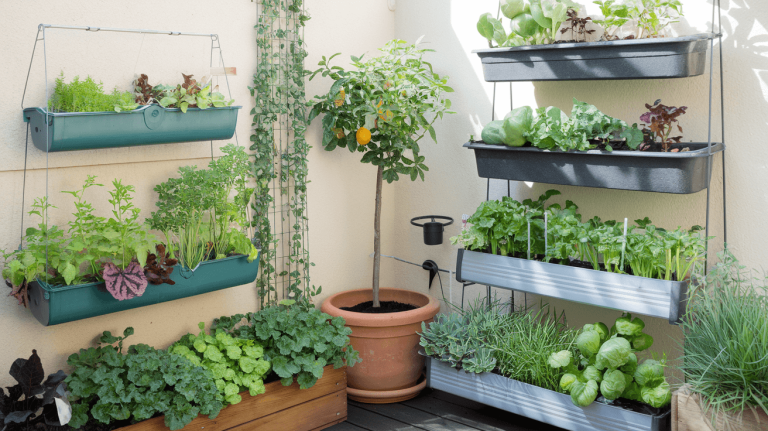
For vertical gardening, think beyond traditional trellises. Repurposed pallets, hanging pockets, and tower systems let you grow upward when you can’t grow outward.
I’ve seen apartment dwellers grow 50+ pounds of food on balconies using these methods. The secret? Intensive planting combined with rich organic soil and regular harvesting.
Aquaponics and Hydroponics the Organic Way
Think organic means soil-only? Think again. Both aquaponics and hydroponics can be done organically—and they’re water-saving powerhouses.
Aquaponics creates a closed-loop system where fish waste fertilizes plants, and plants clean water for fish. It’s the ultimate symbiotic relationship.
For organic hydroponics, ditch the synthetic nutrients and opt for:
- Compost tea
- Seaweed extracts
- Fish emulsion
- Worm castings
The learning curve is steeper than soil gardening, but the results are mind-blowing. My hydroponic lettuce grows twice as fast as soil-grown, using 90% less water.
The trick with organic hydroponics is maintaining biological balance. You’re creating a living water system that needs beneficial microbes just like soil does. Add mycorrhizal fungi and effective microorganisms to your reservoir, and monitor closely.
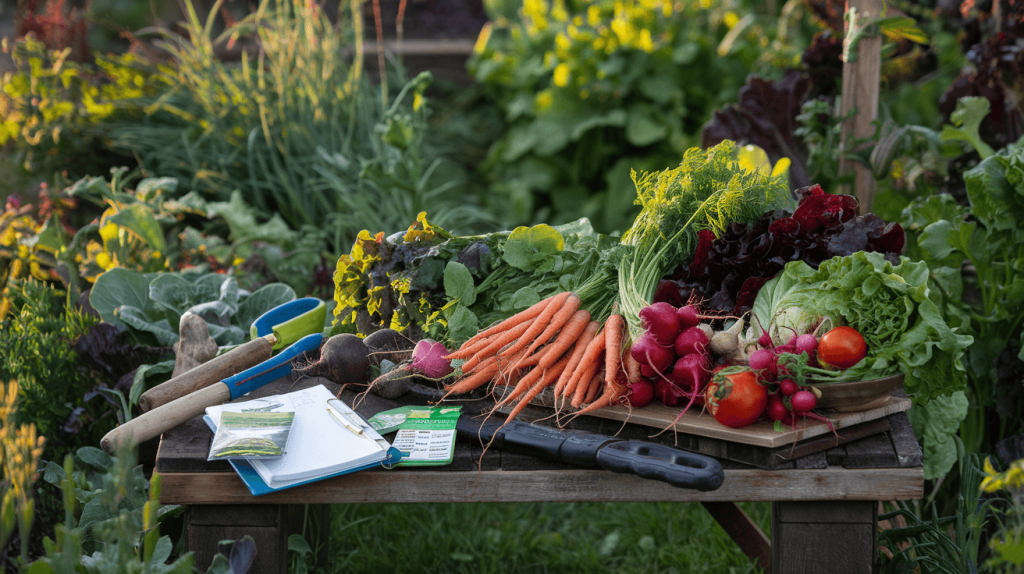
Many garden purists turn their noses up at these methods, but they’re missing out. These systems represent the future of sustainable food production—especially in urban environments or difficult growing climates.
Growing an organic vegetable garden is a rewarding journey that connects you to nature while providing nutritious food for your table. From understanding the foundational principles of organic gardening to mastering advanced techniques like companion planting and permaculture, this guide has walked you through every step of creating and maintaining a thriving garden ecosystem. Building healthy soil, selecting appropriate seeds, implementing natural care methods, and managing pests organically are all essential components of sustainable gardening success.
Take the knowledge you’ve gained and apply it to your garden space, whether it’s a small balcony or a sprawling backyard. Start small, learn from each season, and gradually expand your organic growing practices. Remember that organic gardening isn’t just about avoiding synthetic chemicals—it’s about creating a balanced ecosystem that works with nature rather than against it. Your efforts contribute to personal health, environmental sustainability, and the preservation of biodiversity for future generations. Happy gardening!


I have not checked in here for a while as I thought it was getting boring, but the last few posts are good quality so I guess I¦ll add you back to my daily bloglist. You deserve it my friend 🙂
Hi, Neat post. There’s a problem with your web site in internet explorer, would test this… IE still is the market leader and a good portion of people will miss your great writing because of this problem.
I’m still learning from you, as I’m trying to achieve my goals. I absolutely love reading all that is written on your website.Keep the aarticles coming. I loved it!
Your home is valueble for me. Thanks!…
I’d always want to be update on new blog posts on this website , saved to bookmarks! .
You have noted very interesting points! ps decent site.